
type
status
category
date
slug
summary
tags
icon
Last edited time
May 21, 2023 07:57 AM
创建项目
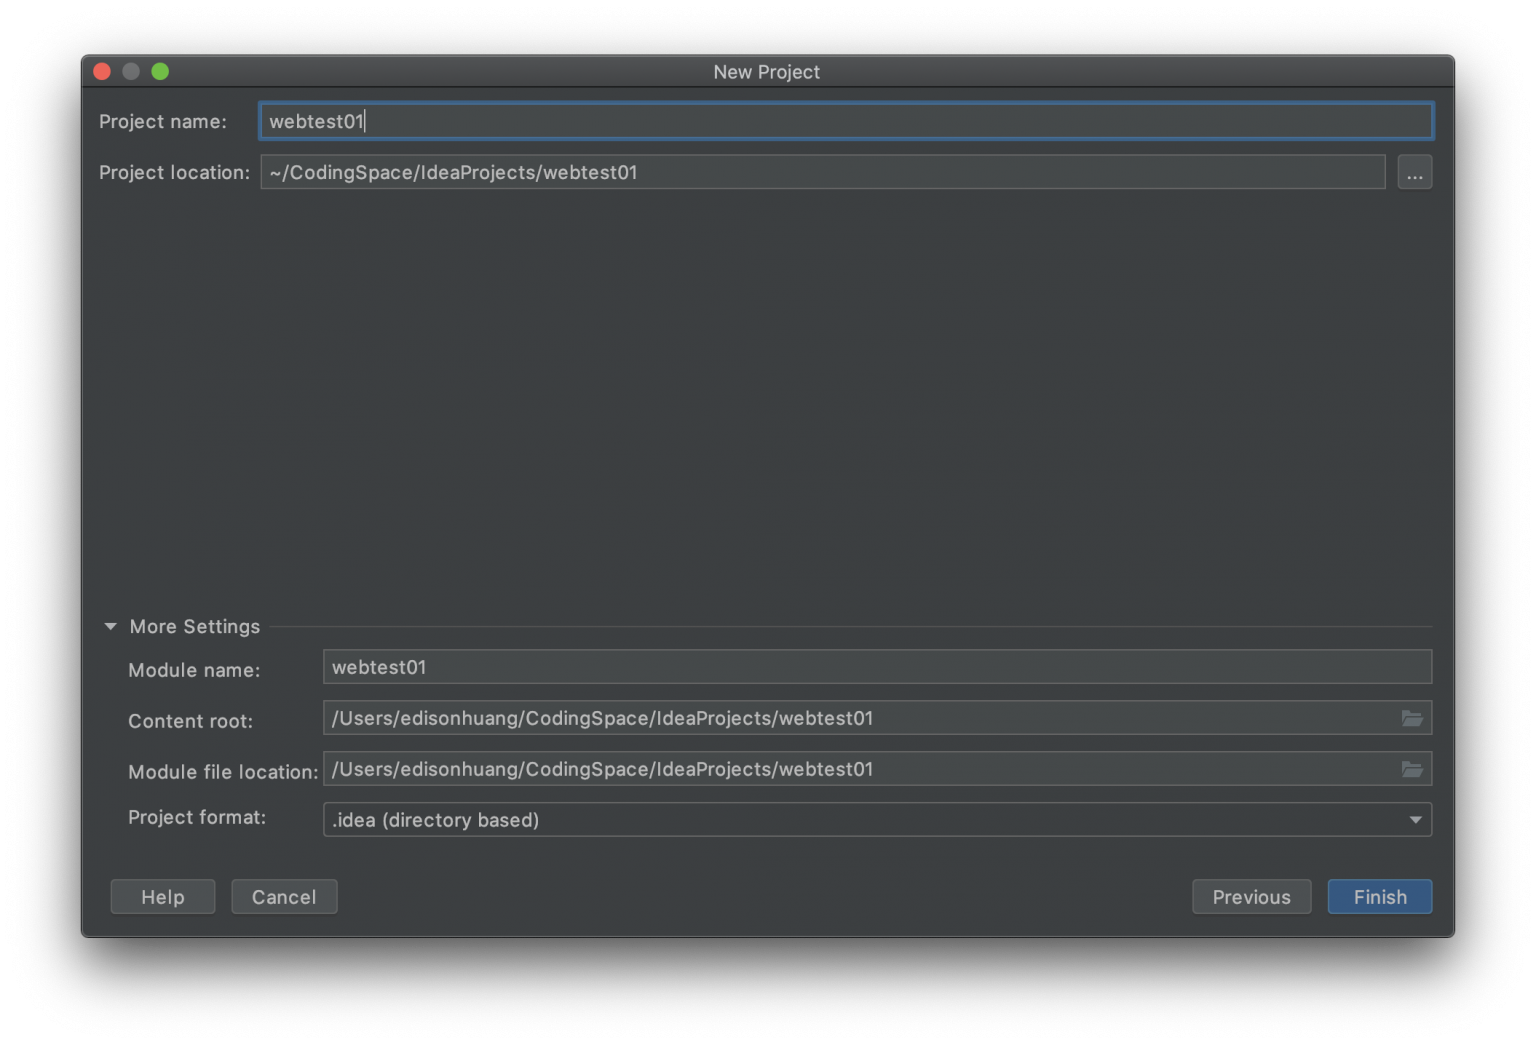
1、new 一个 Project

2、起一个名字
配置项目
1、点击右上角的这个图标(显示ProjectStructure)进行配置
2、配置Sources
在Modules Sources内
在
WEB-INF 文件夹下创建两个文件夹classes 和 lib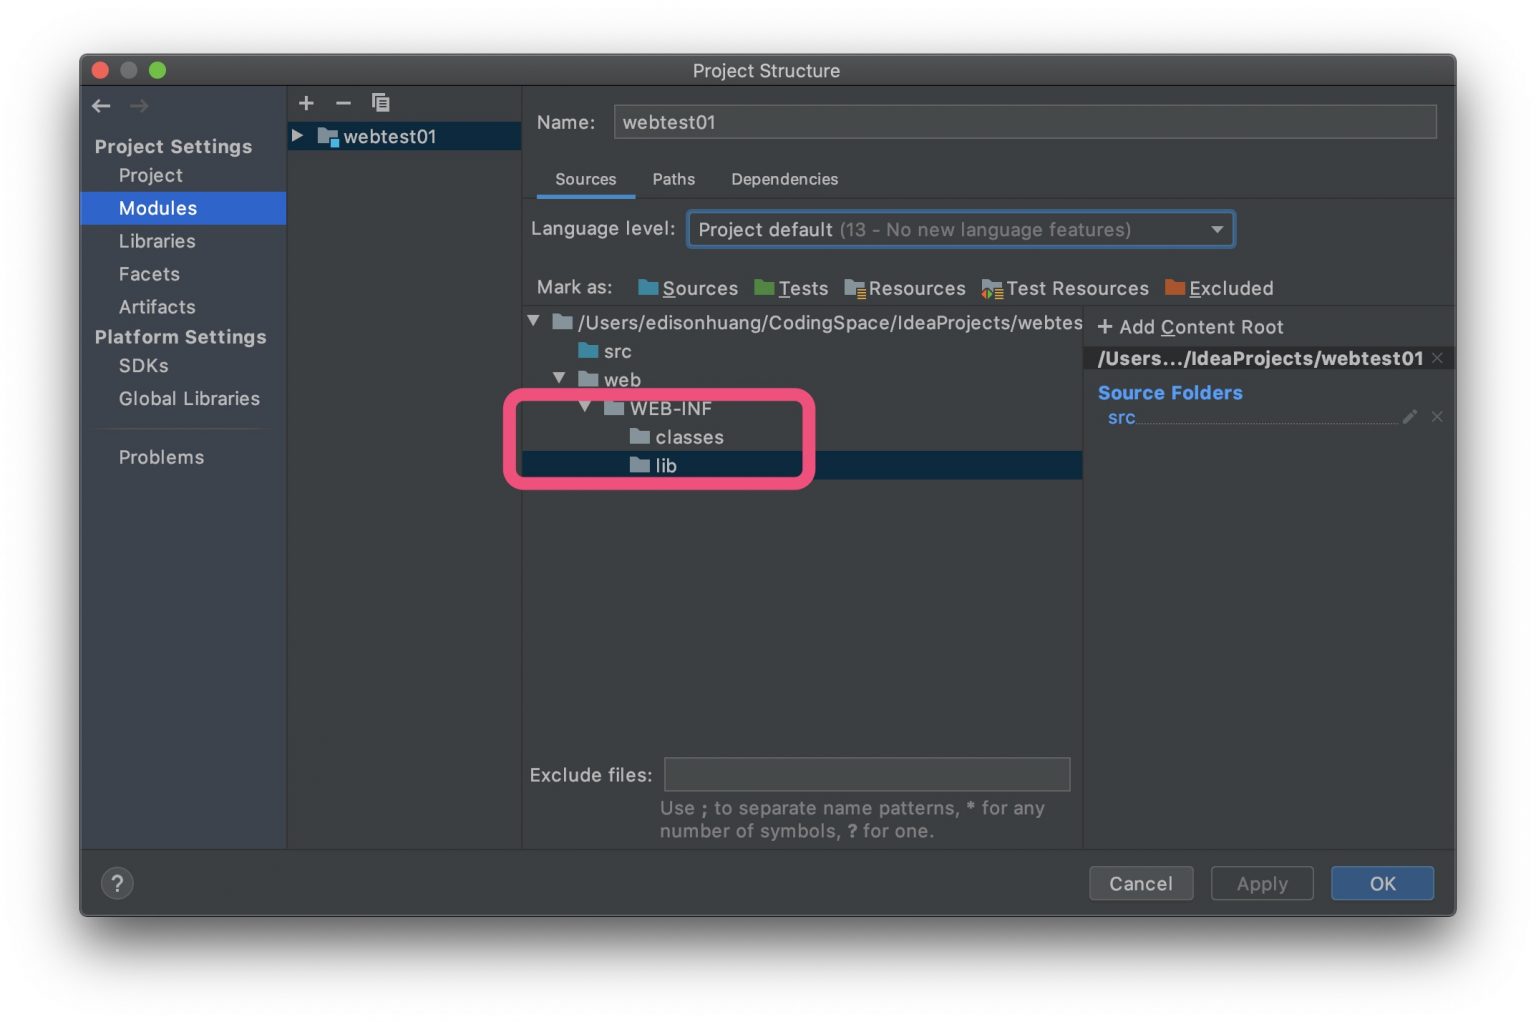
3、配置Paths
在Paths中选择Use module compile output path
将
Output path 和 Test output path 选择为刚刚创建的 classes 的地址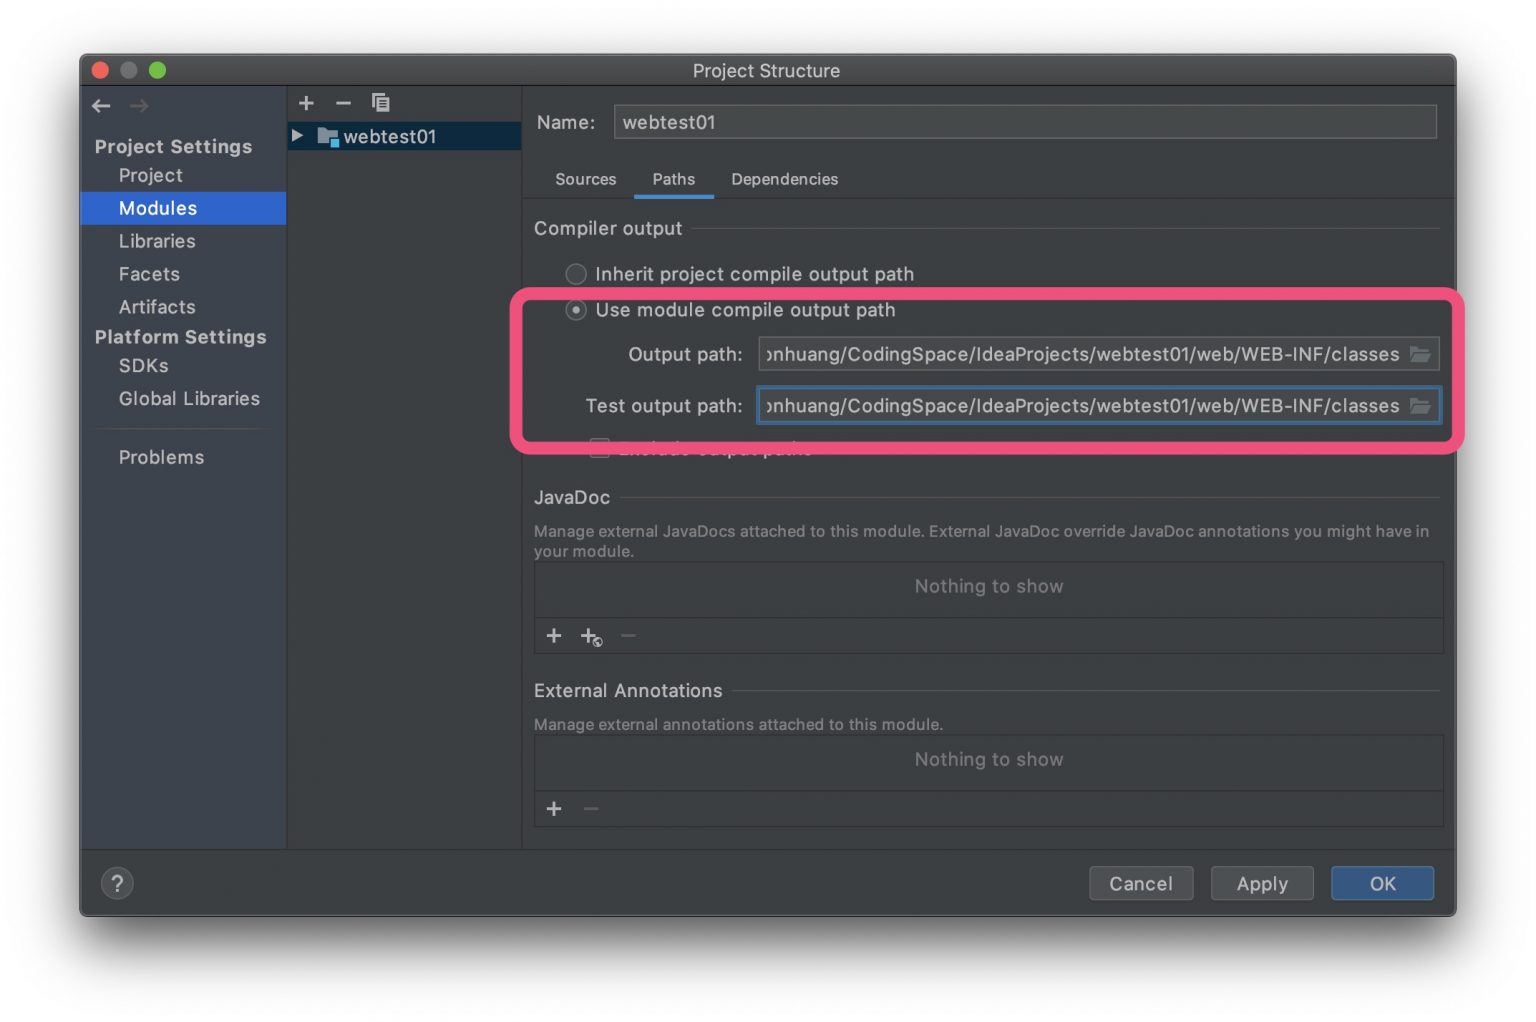
4、配置Dependencies
选择Dependencies,点击下方的加号,选择
JARs or directories...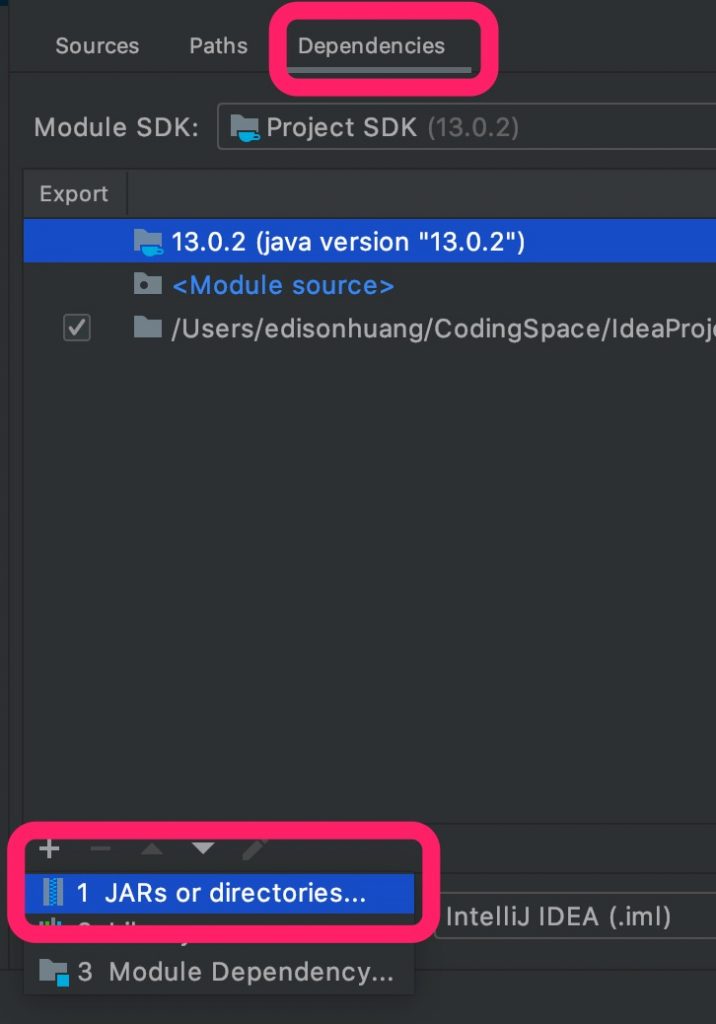
选择刚刚创建的
lib 文件夹的位置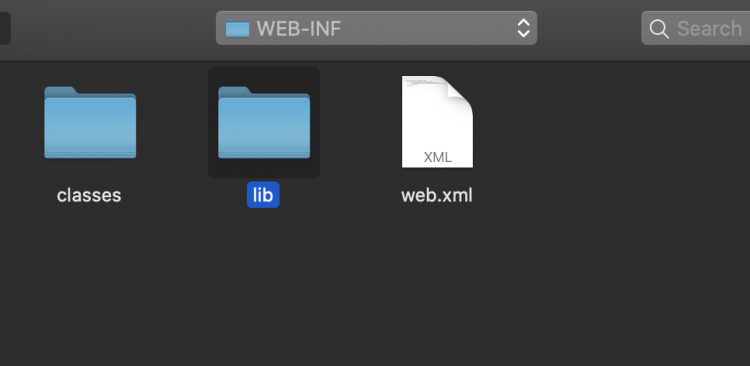
选择
Jar Directory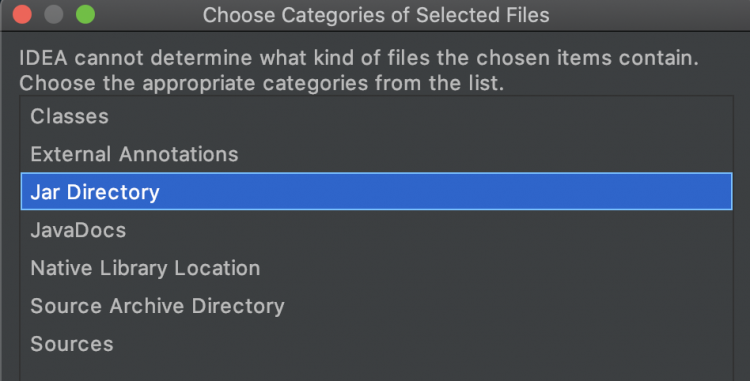
把复选框钩上
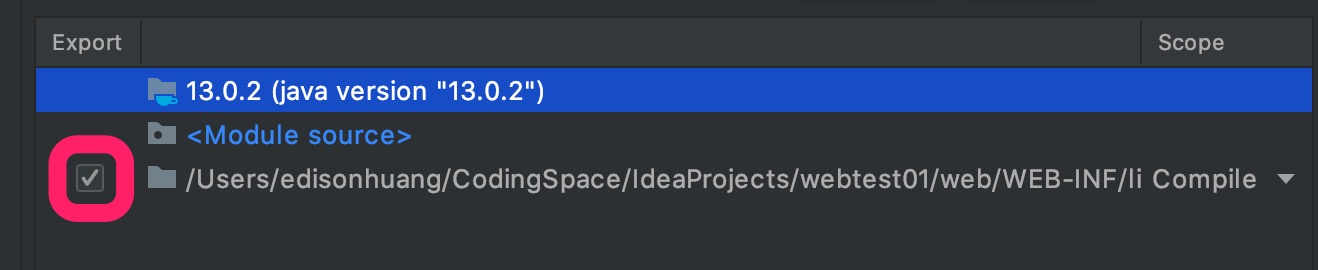
点击ok
配置Tomcat
点击右上方的
Add Configuration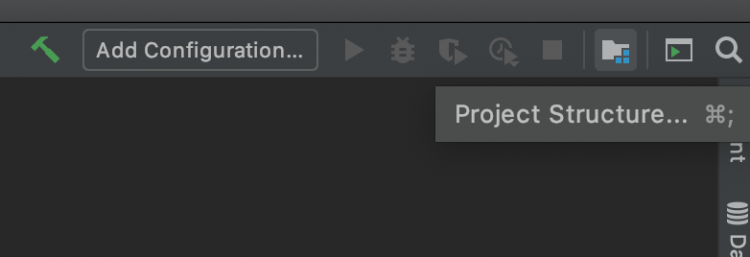
点击+号,选择Tomcat Server,Local
上方可以给你的server起个名字
点击下方的+号,选择
Artifact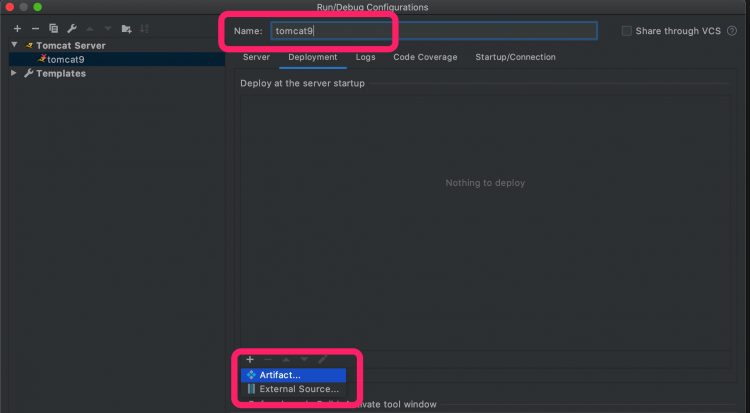
已经添加进来了,在
Application context 中,可以写上虚拟路径的名称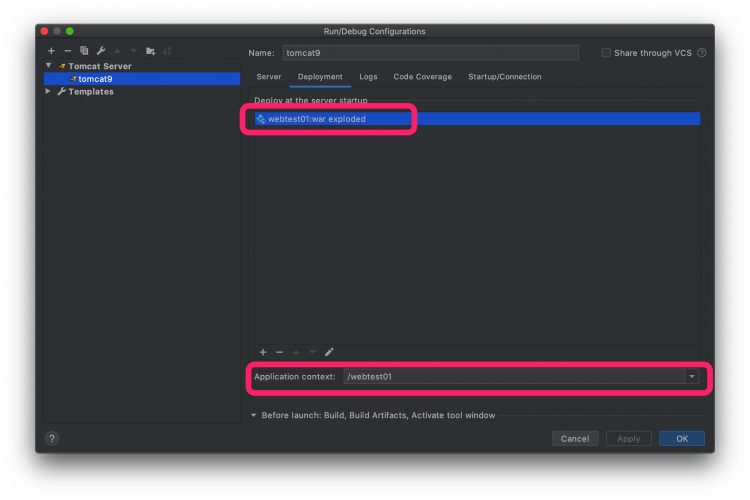
点击ok
点击ok之后,选择右上角的
Edit Configurations
去掉
After launch 的勾把
On 'Update' action 和 On frame deactivation 都改成 update classed and resources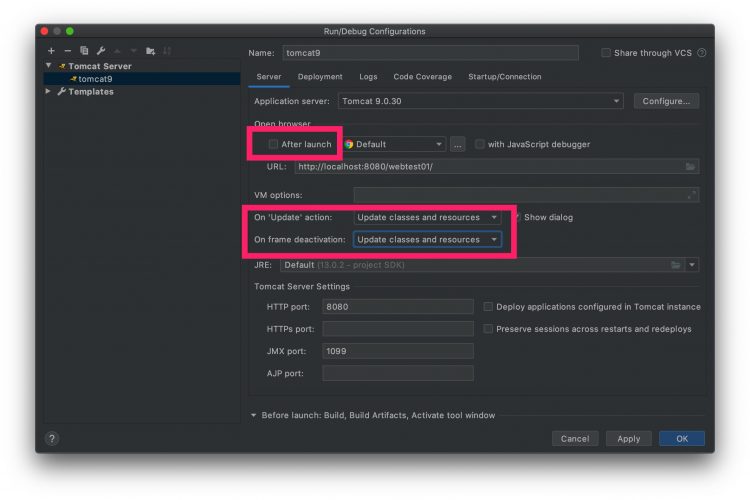
点击ok 进入运行测试
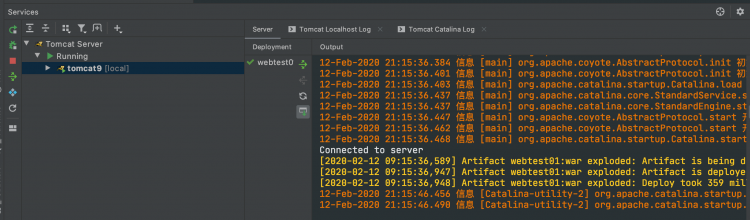
运行测试
在
index.jsp 中键入测试代码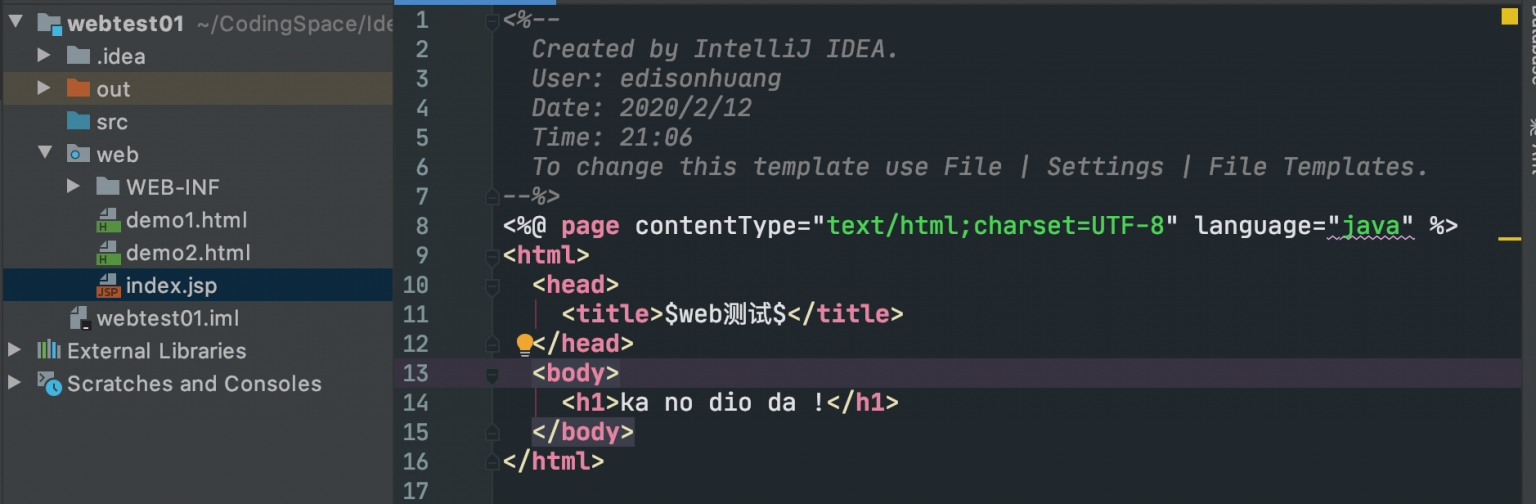
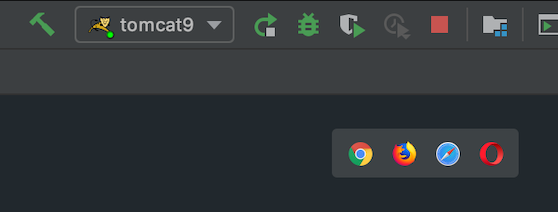
点击运行,屏幕下方应该会显示
点击代码区域右上角的浏览器
显示出index.jsp中内容
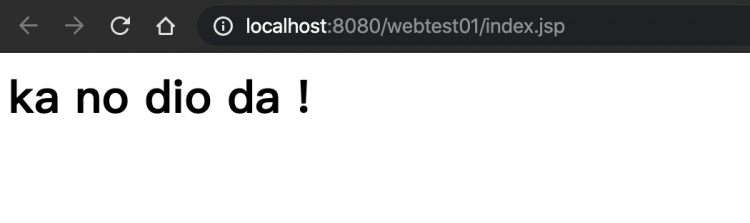
至此,配置完成
- 作者:Jimmy Huang
- 链接:https://huangjihao.com/4909ac22-bfb0-49cf-94b3-7dbfe7a1b79f
- 声明:本文采用 CC BY-NC-SA 4.0 许可协议,转载请注明出处。