
type
status
category
date
slug
summary
tags
icon
Last edited time
May 21, 2023 07:57 AM
一、前言
之前一直把虚拟主机的空间当作图床用,突然发现1个g的空间被我用了大半了,心疼的不行。
才想起来之前看过的“搭建图床”这回事,今天也来实现一下。
查过之后选择了
腾讯云和PicGo搭配使用二、腾讯云创建对象存储
点击立即使用

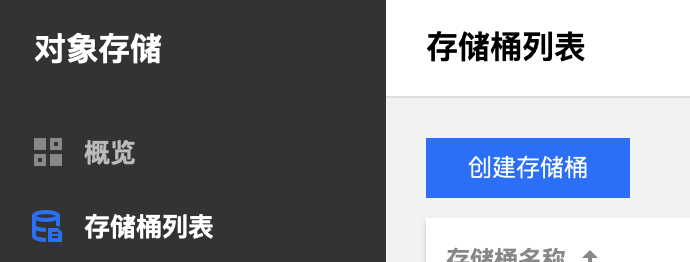
在存储桶列表中点击创建存储桶

点击桶名称进入桶
进入下一步
三、PicGo图床设置
GitHub地址:https://github.com/Molunerfinn/PicGo
mac版本下载地址:https://macwk.com/soft/picgo
下载好之后进行配置
右键状态栏图标,选择
默认图床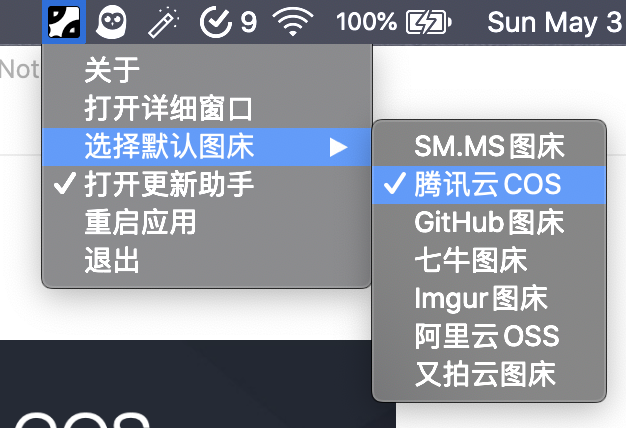
再点击
打开详细窗口找到腾讯云COS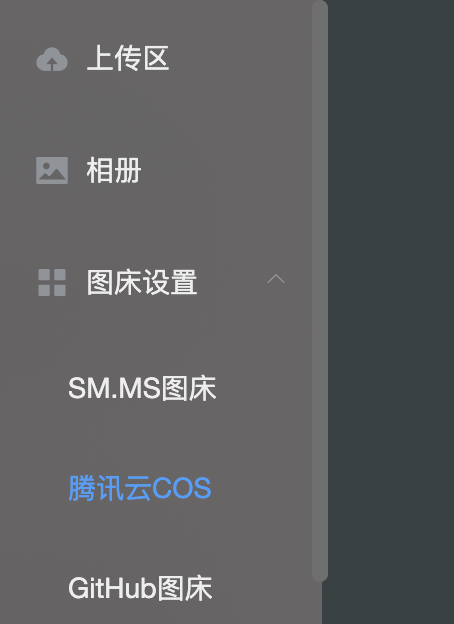
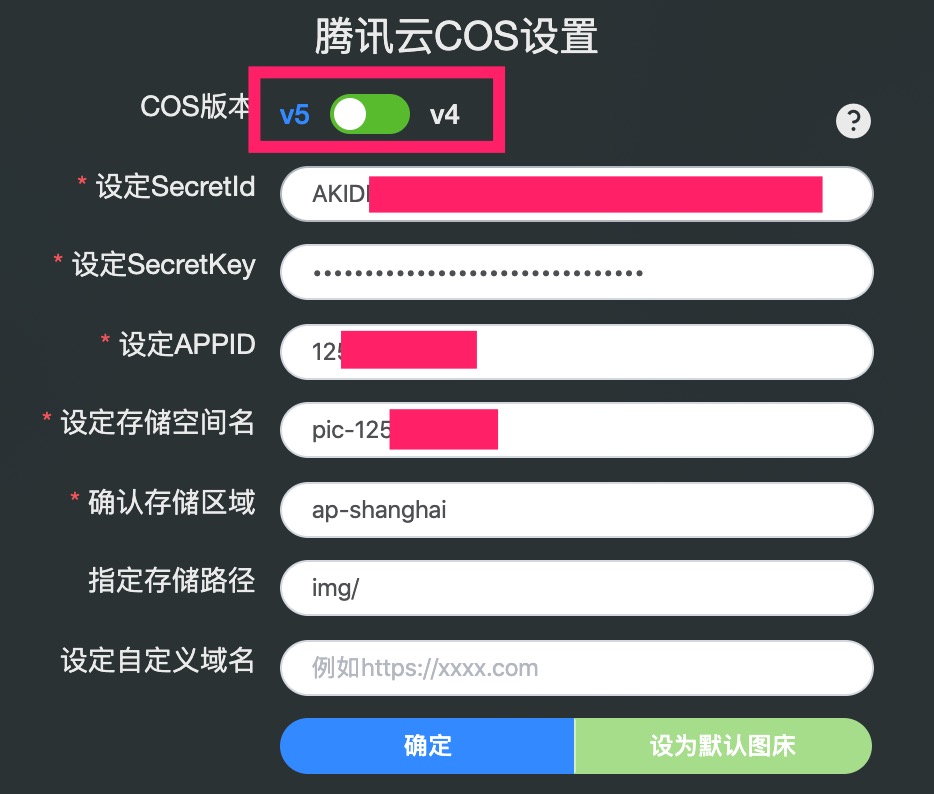
COS版本一定要选择为
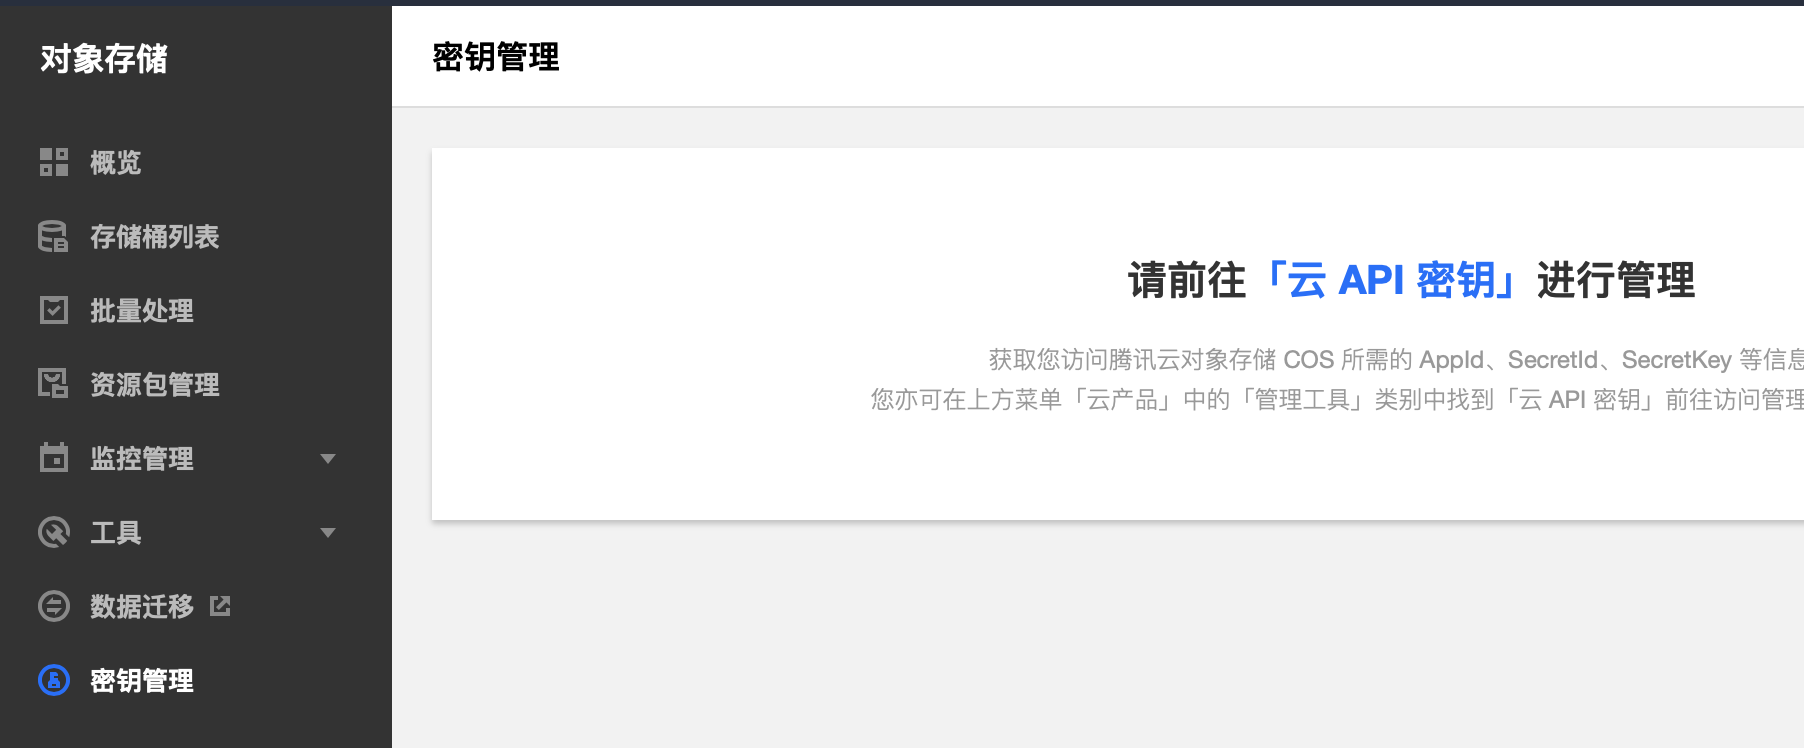
v5,不然不行SecretldSecretKey点击密钥管理,点击云API密钥
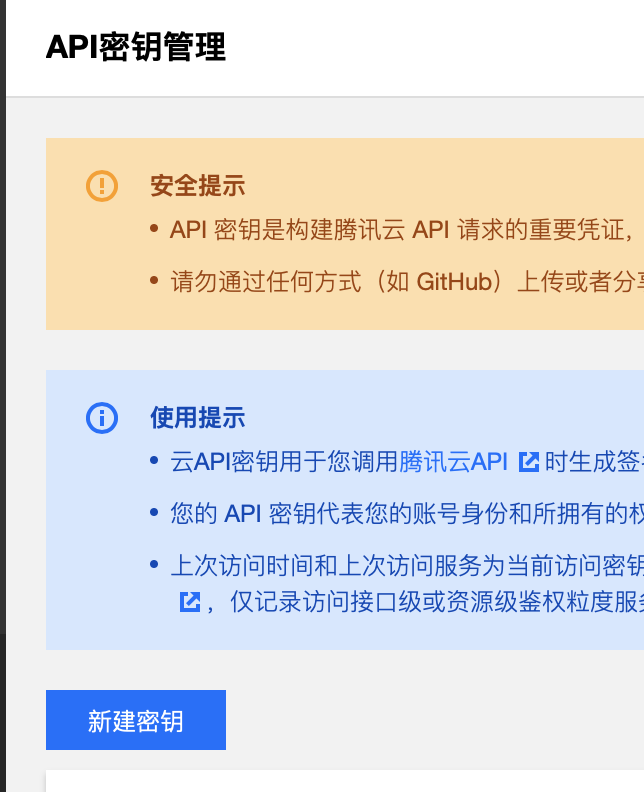
点击新建密钥
填进去就可以了
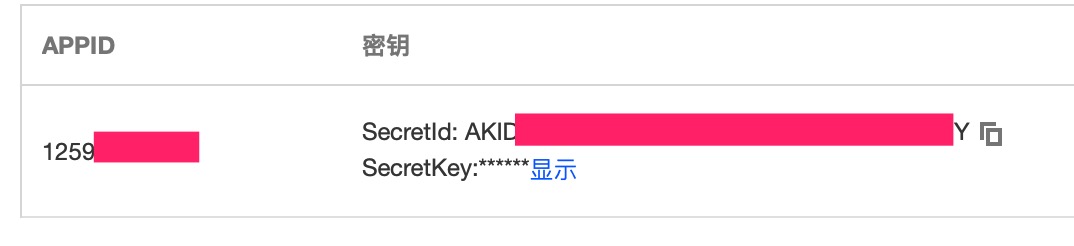
APPID存储空间名存储区域这三个信息都在基础配置里APPID就是去掉pic-的内容存储空间名就是pic-125.....存储空间名存储区域如上

存储路径随便写,就是存储图片的文件夹
四、实现效果
- 作者:Jimmy Huang
- 链接:https://huangjihao.com/554b7353-c3b6-429e-99a9-c7b985e5cf05
- 声明:本文采用 CC BY-NC-SA 4.0 许可协议,转载请注明出处。