
type
status
category
date
slug
summary
tags
icon
Last edited time
Jul 18, 2023 12:42 PM
intel chip
下载安装文件
进入官网
选择页尾
MySQL Community Server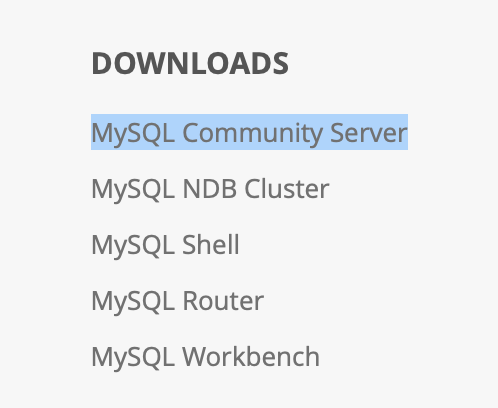
选择合适的版本,
.tar.gz是压缩包,.dmg是可安装文件,随便下一个就行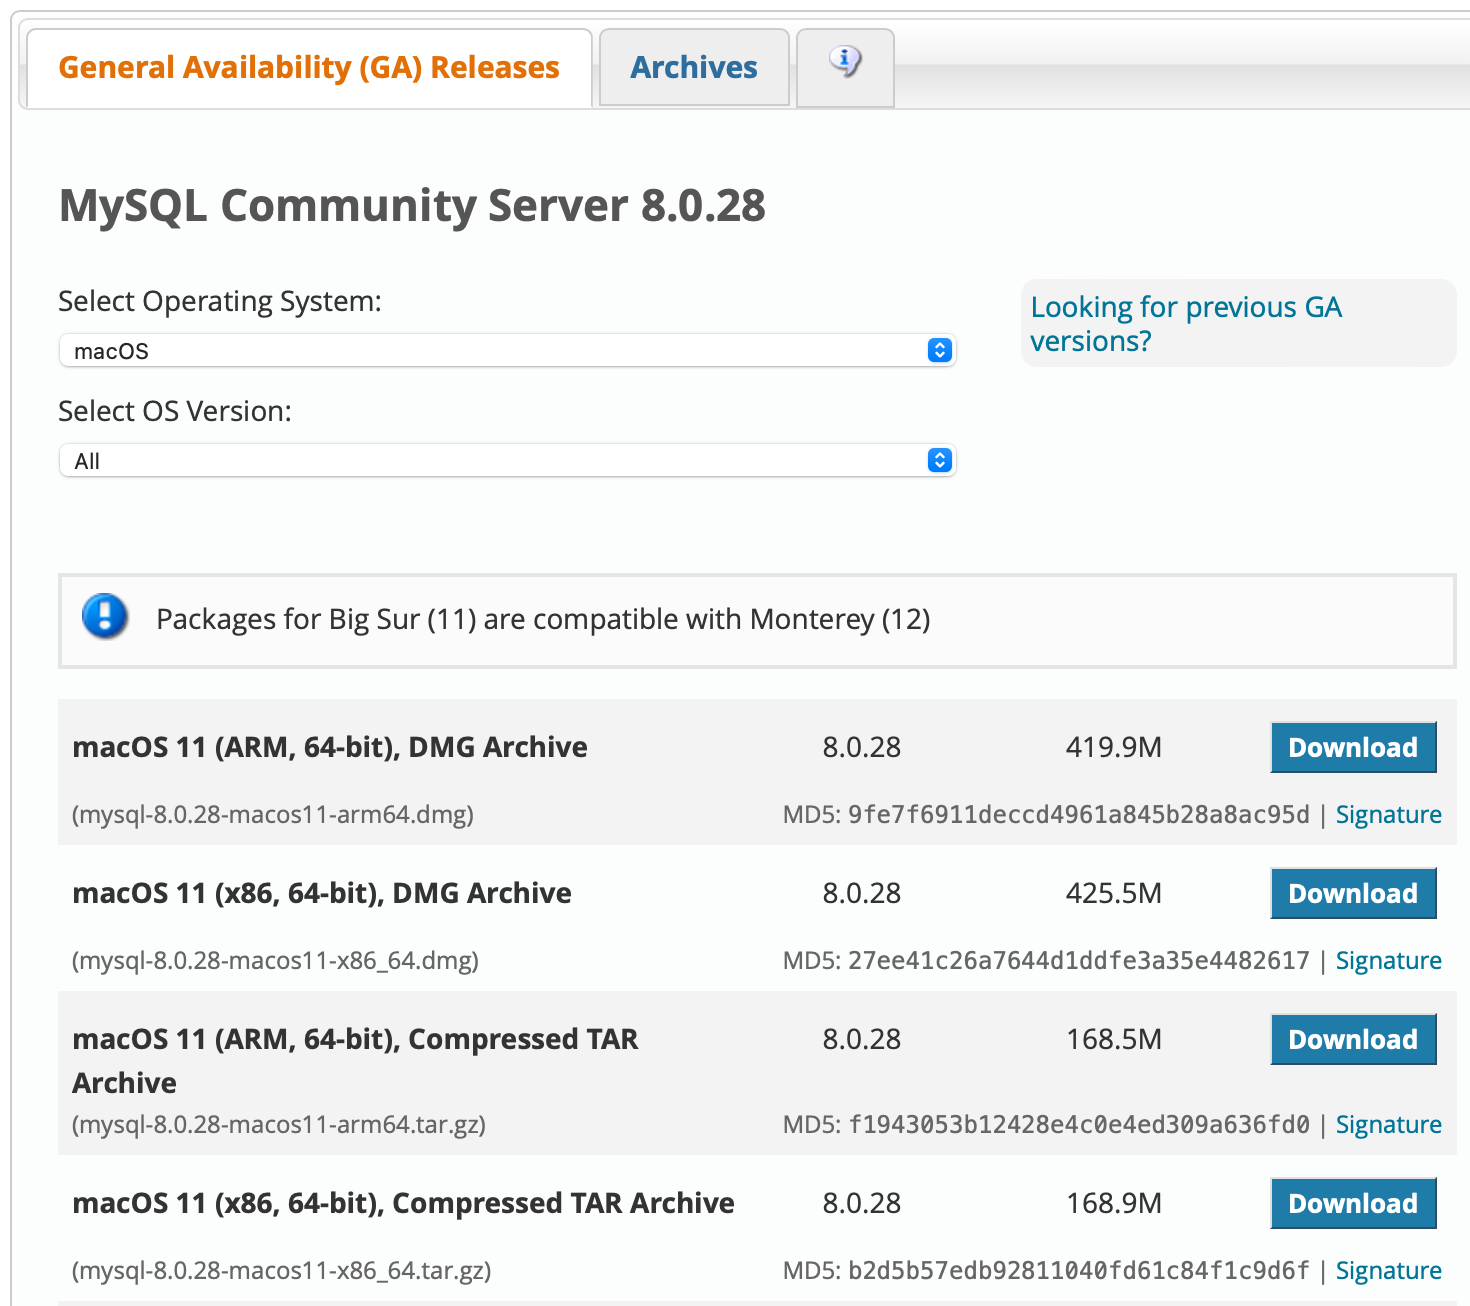
询问是否登陆,直接
no thanks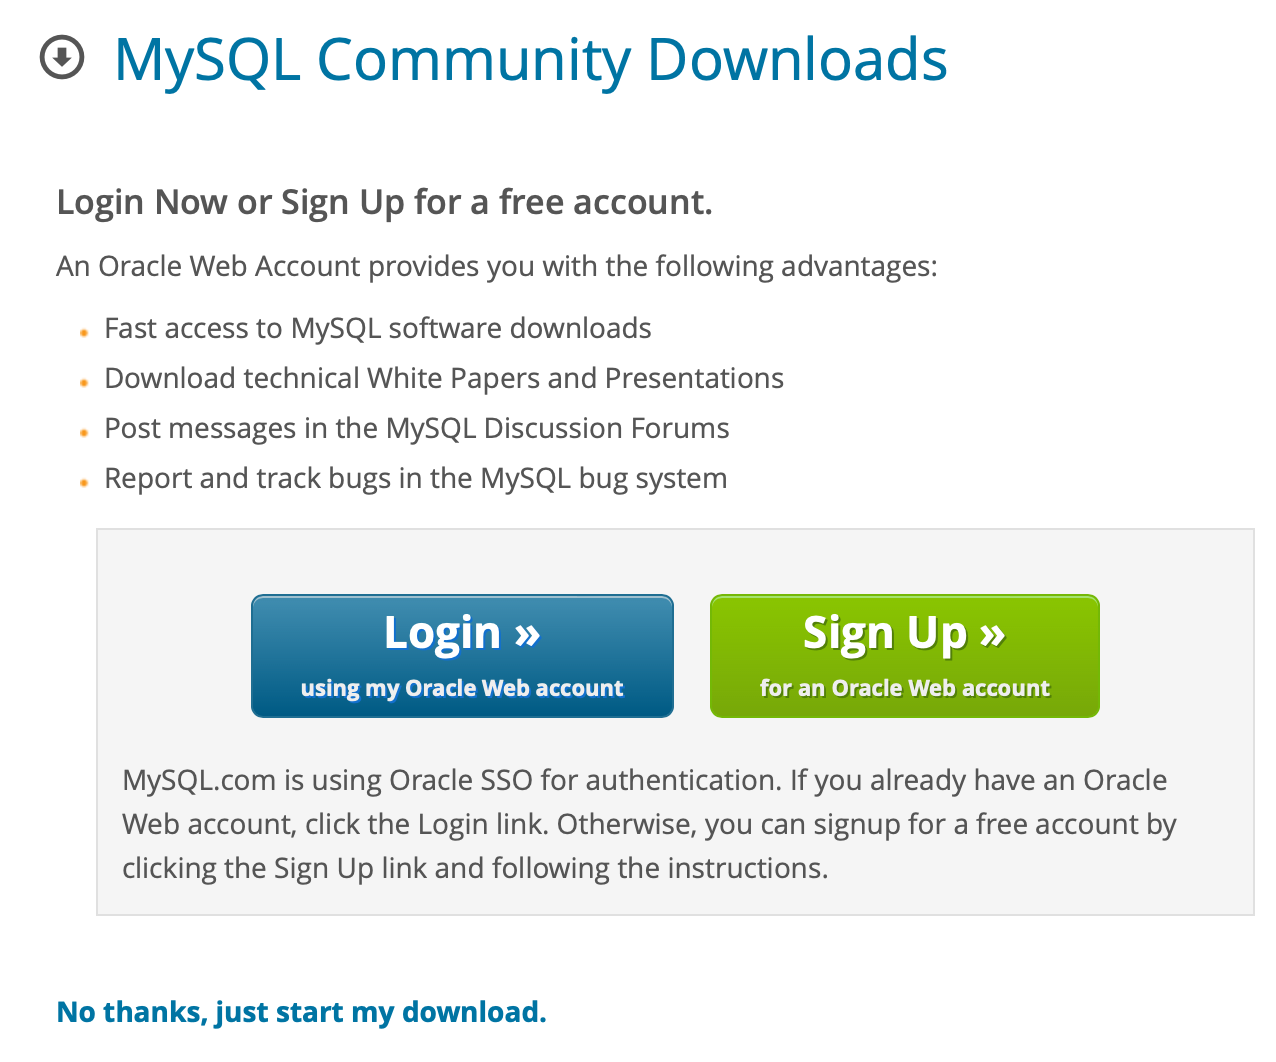
安装MySQL
双击dmg文件,点击pkg
一路allow 和 continue
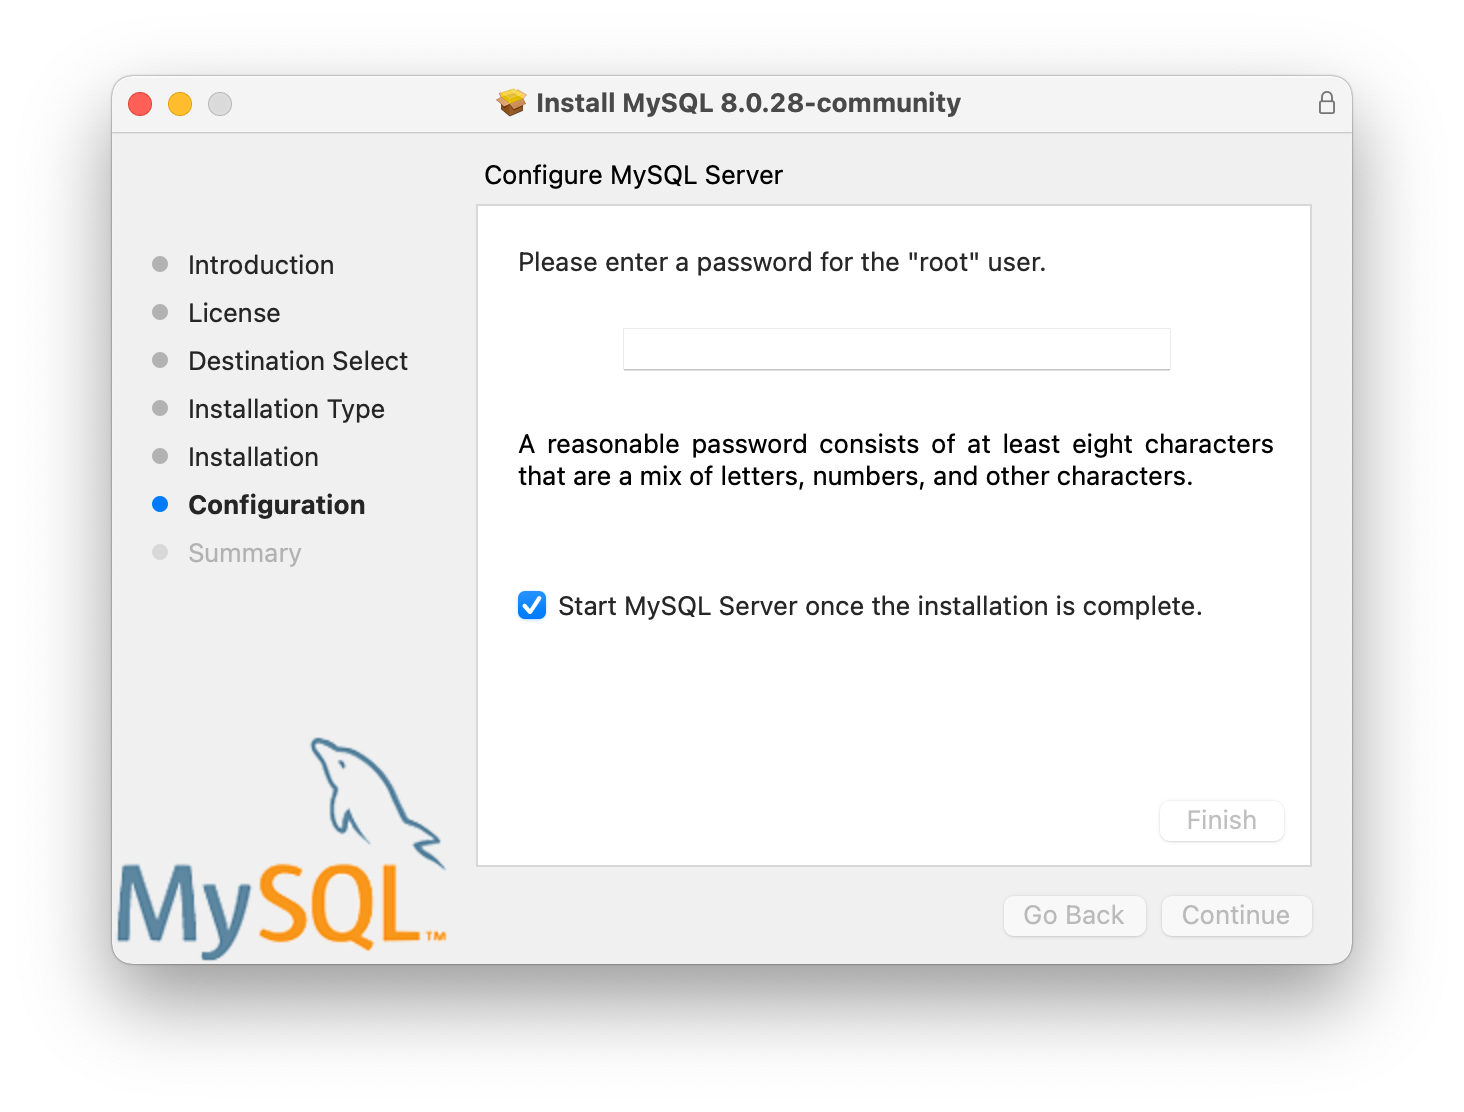
此处选择
Use Strong Password Encryption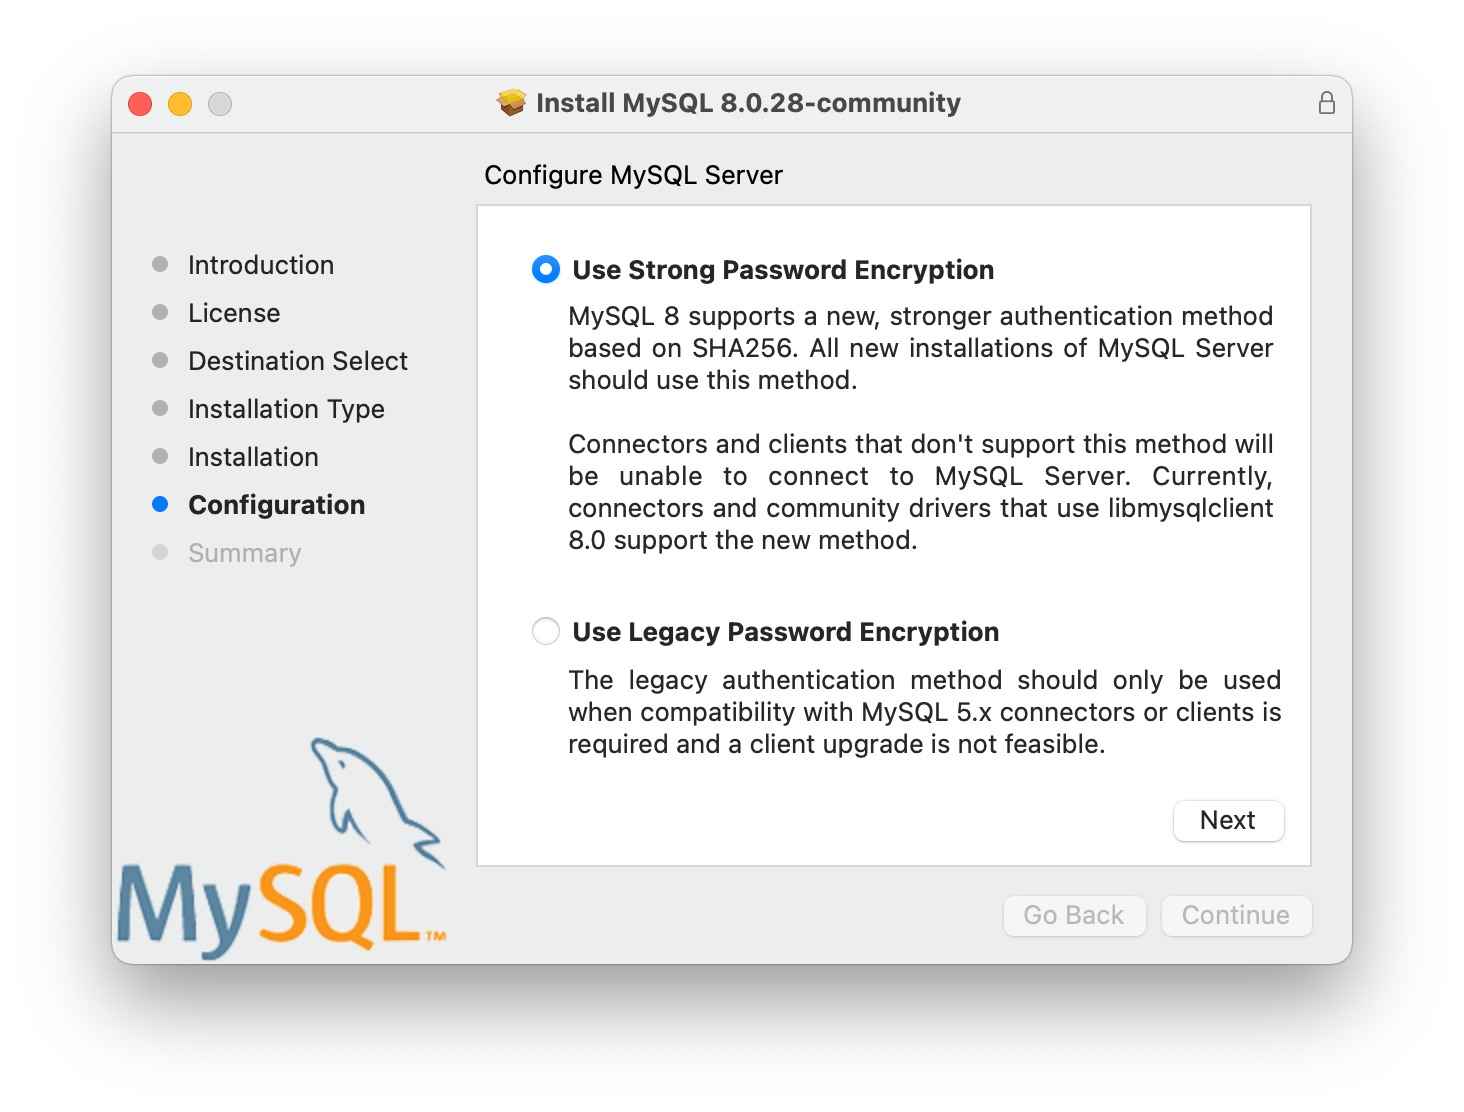
给root用户设置一个密码
至此安装完成
配置环境变量
终端键入
echo $SHELL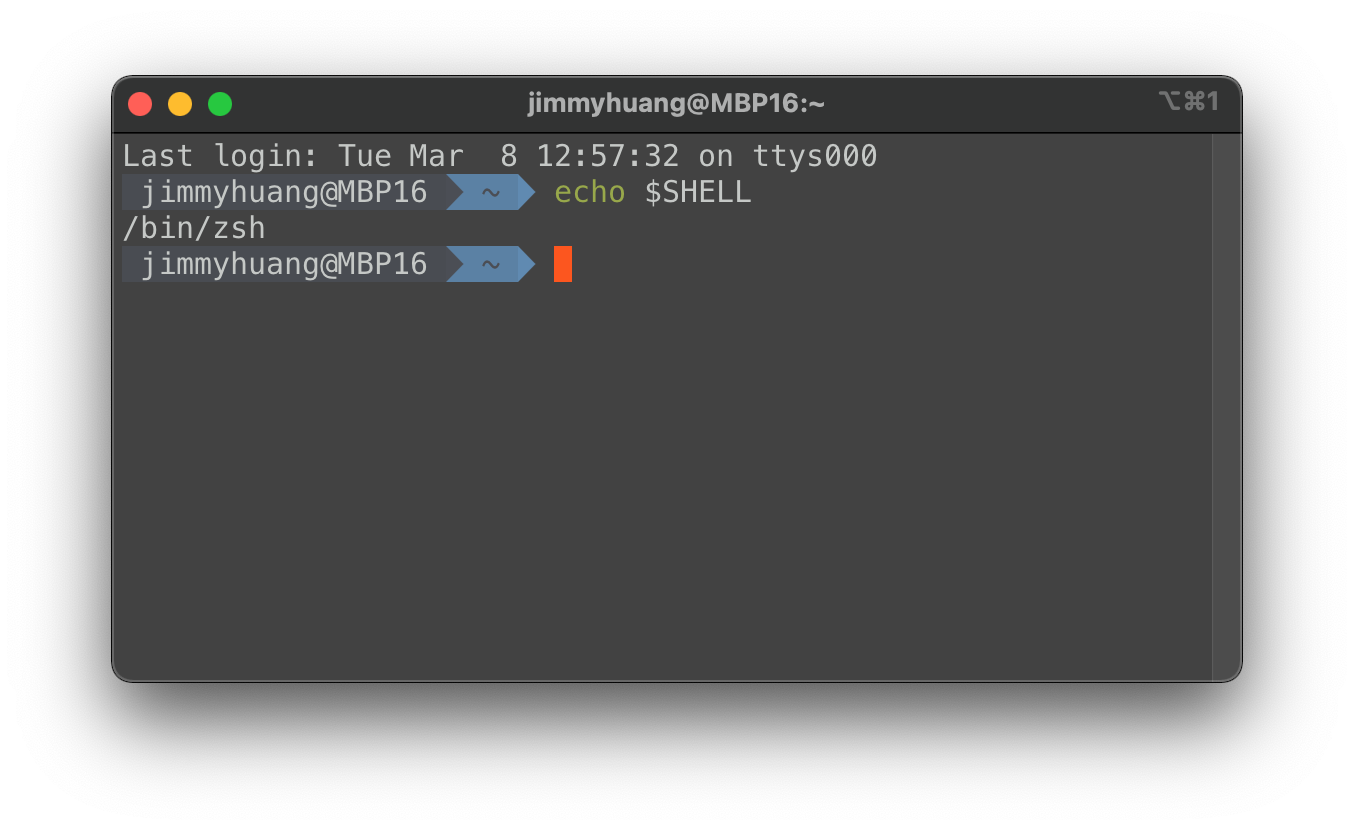
如果自己没做过修改的话,应该是
/bin/bash,我之前修改过,所以是zshbash方式
终端键入
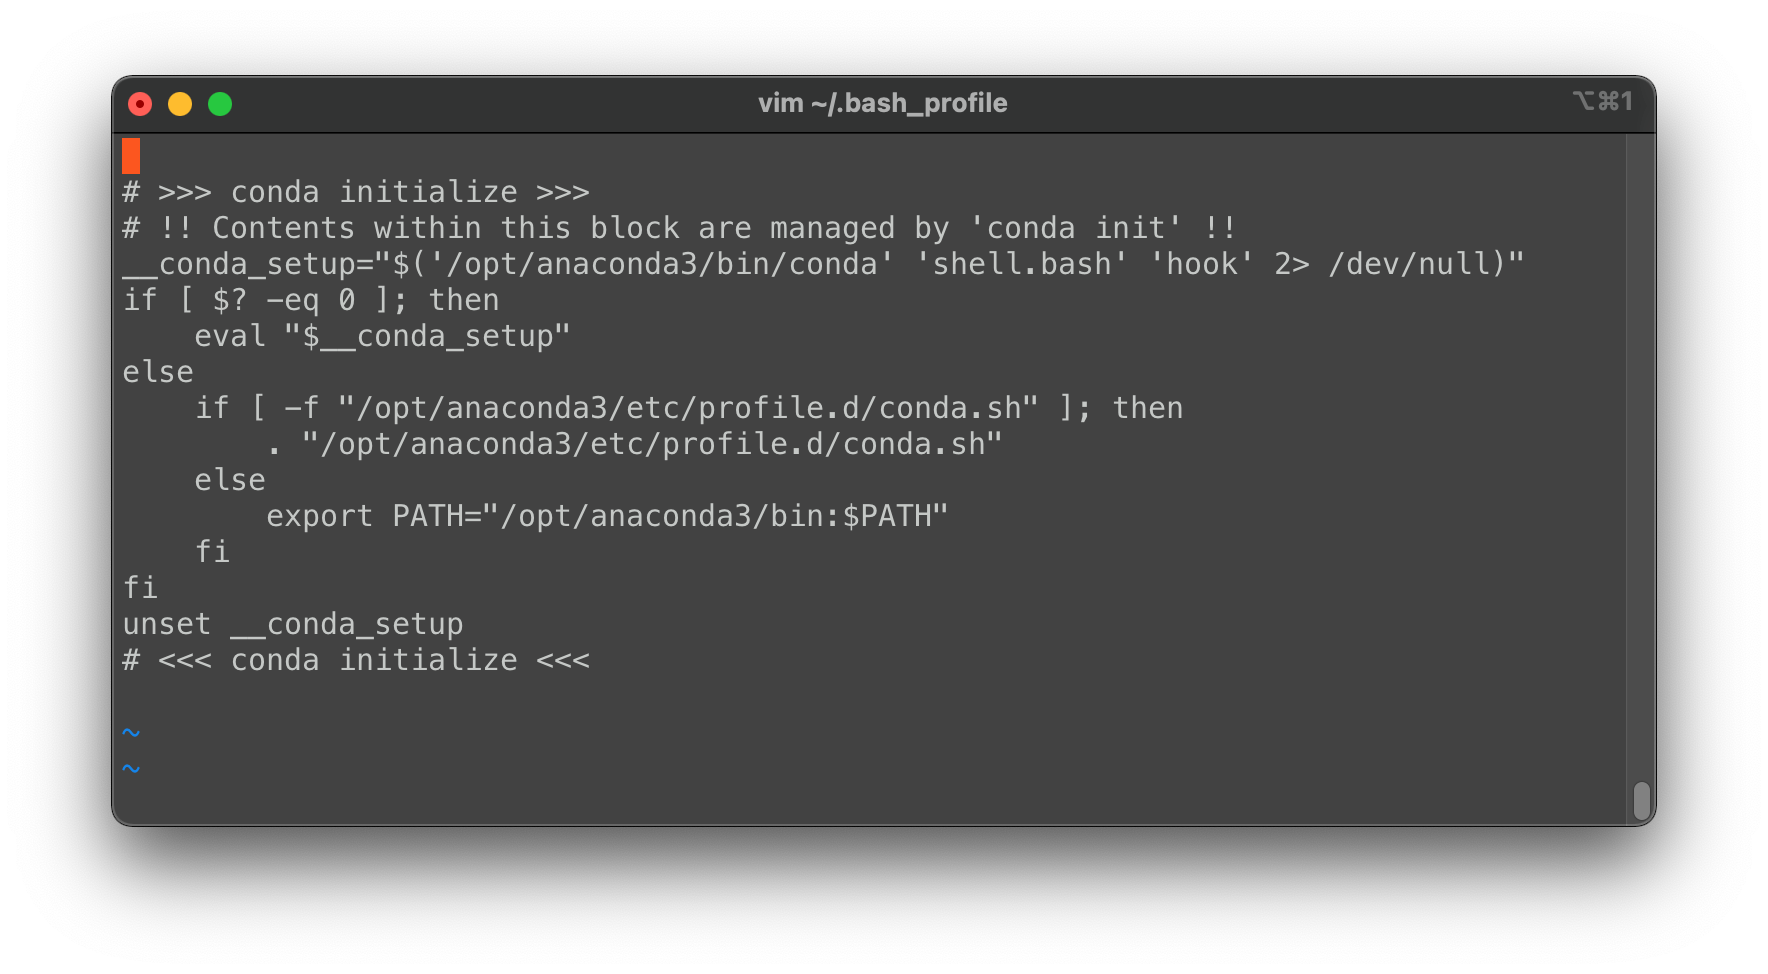
按
i进入编辑插入模式
添加语句
PATH=$PATH:/usr/local/mysql/bin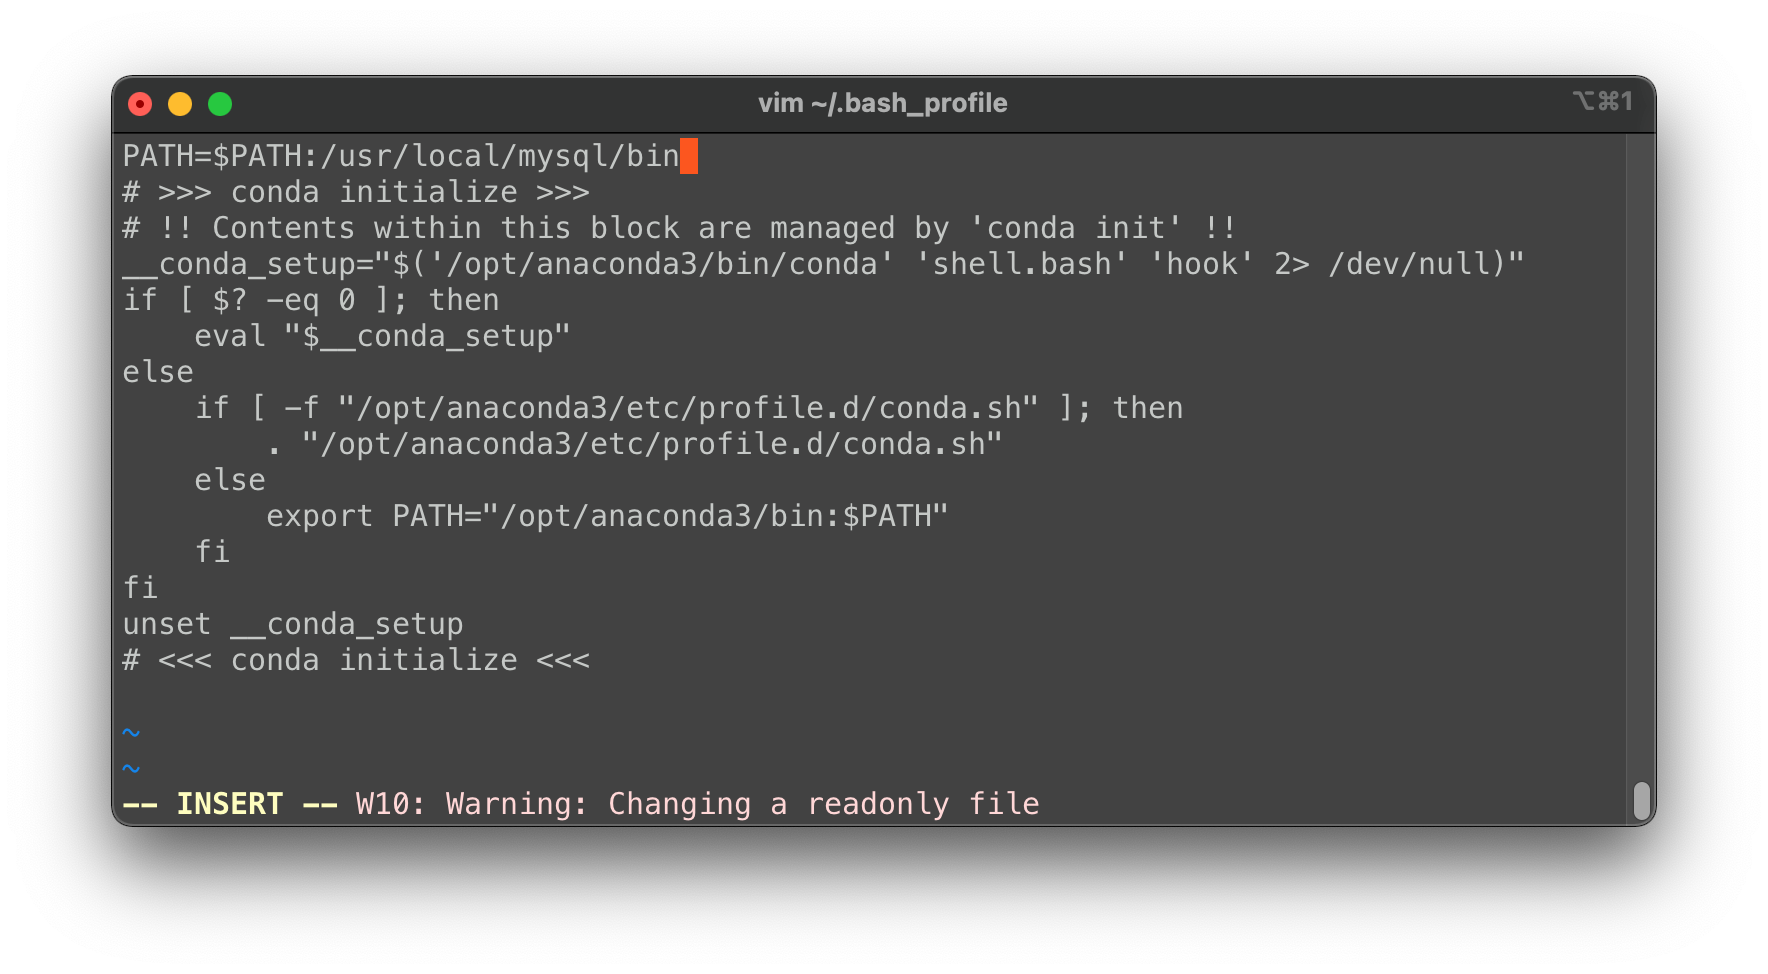
按一下
Ese,然后输入:wq,屏幕下方会显示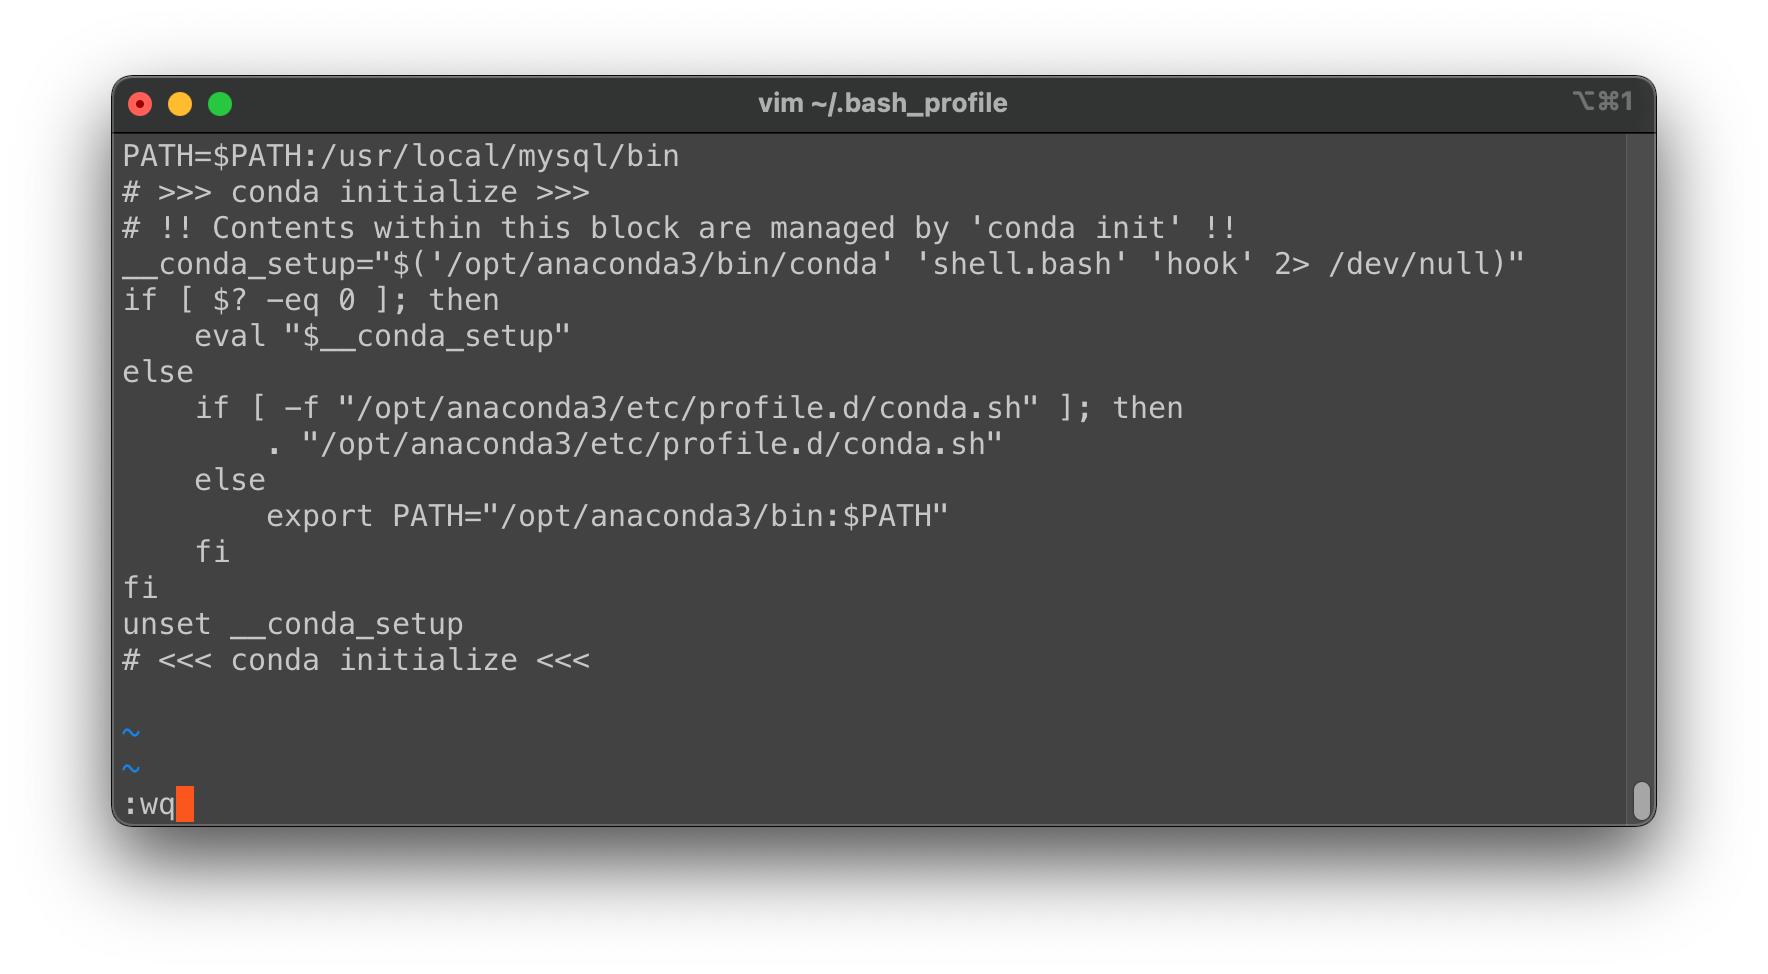
回车,则完成修改文件
终端输入:
source ~/.bash_profile,重新执行此文件,即可zsh方式
与bash基本类似,开头修改的文件则是
.zshrc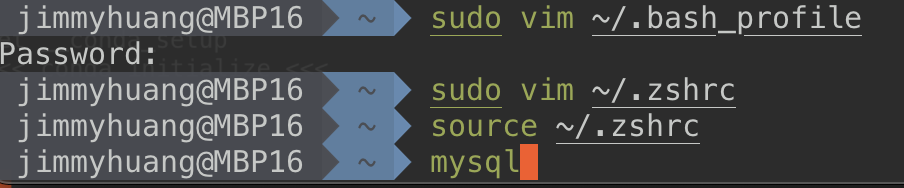
至此
mysql命令已被终端识别登陆Mysql
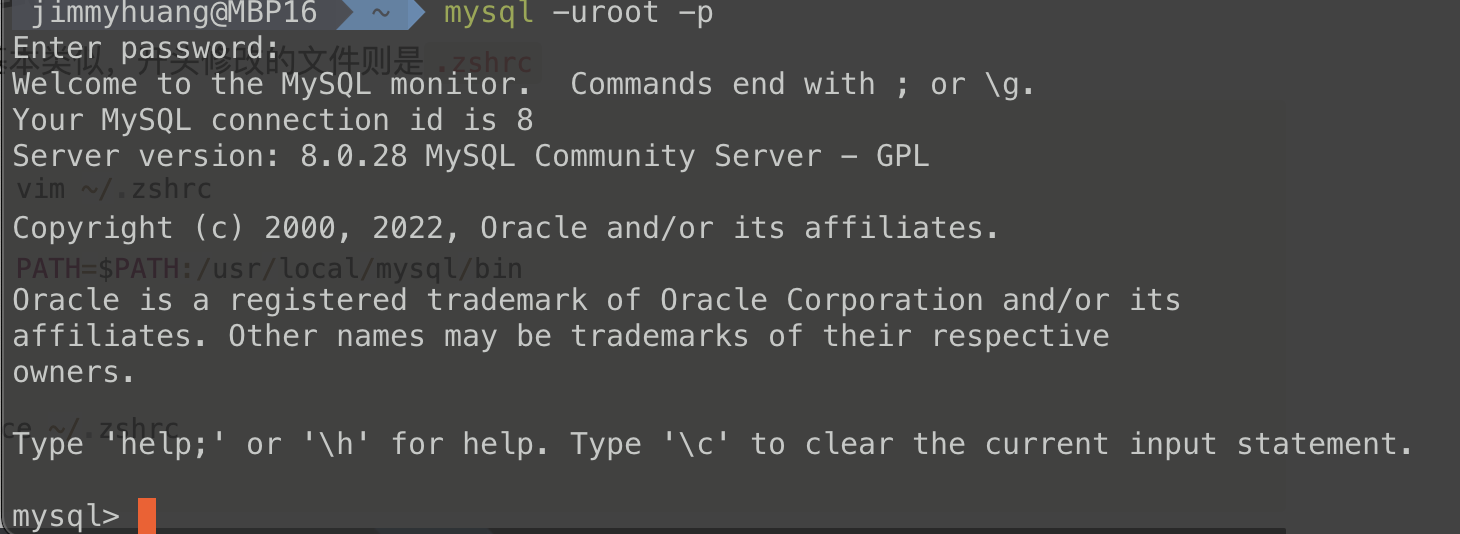
终端键入
mysql -uroot -p提示输入密码,此处密码是安装的时候设置的密码
使用Navicat连接MySql
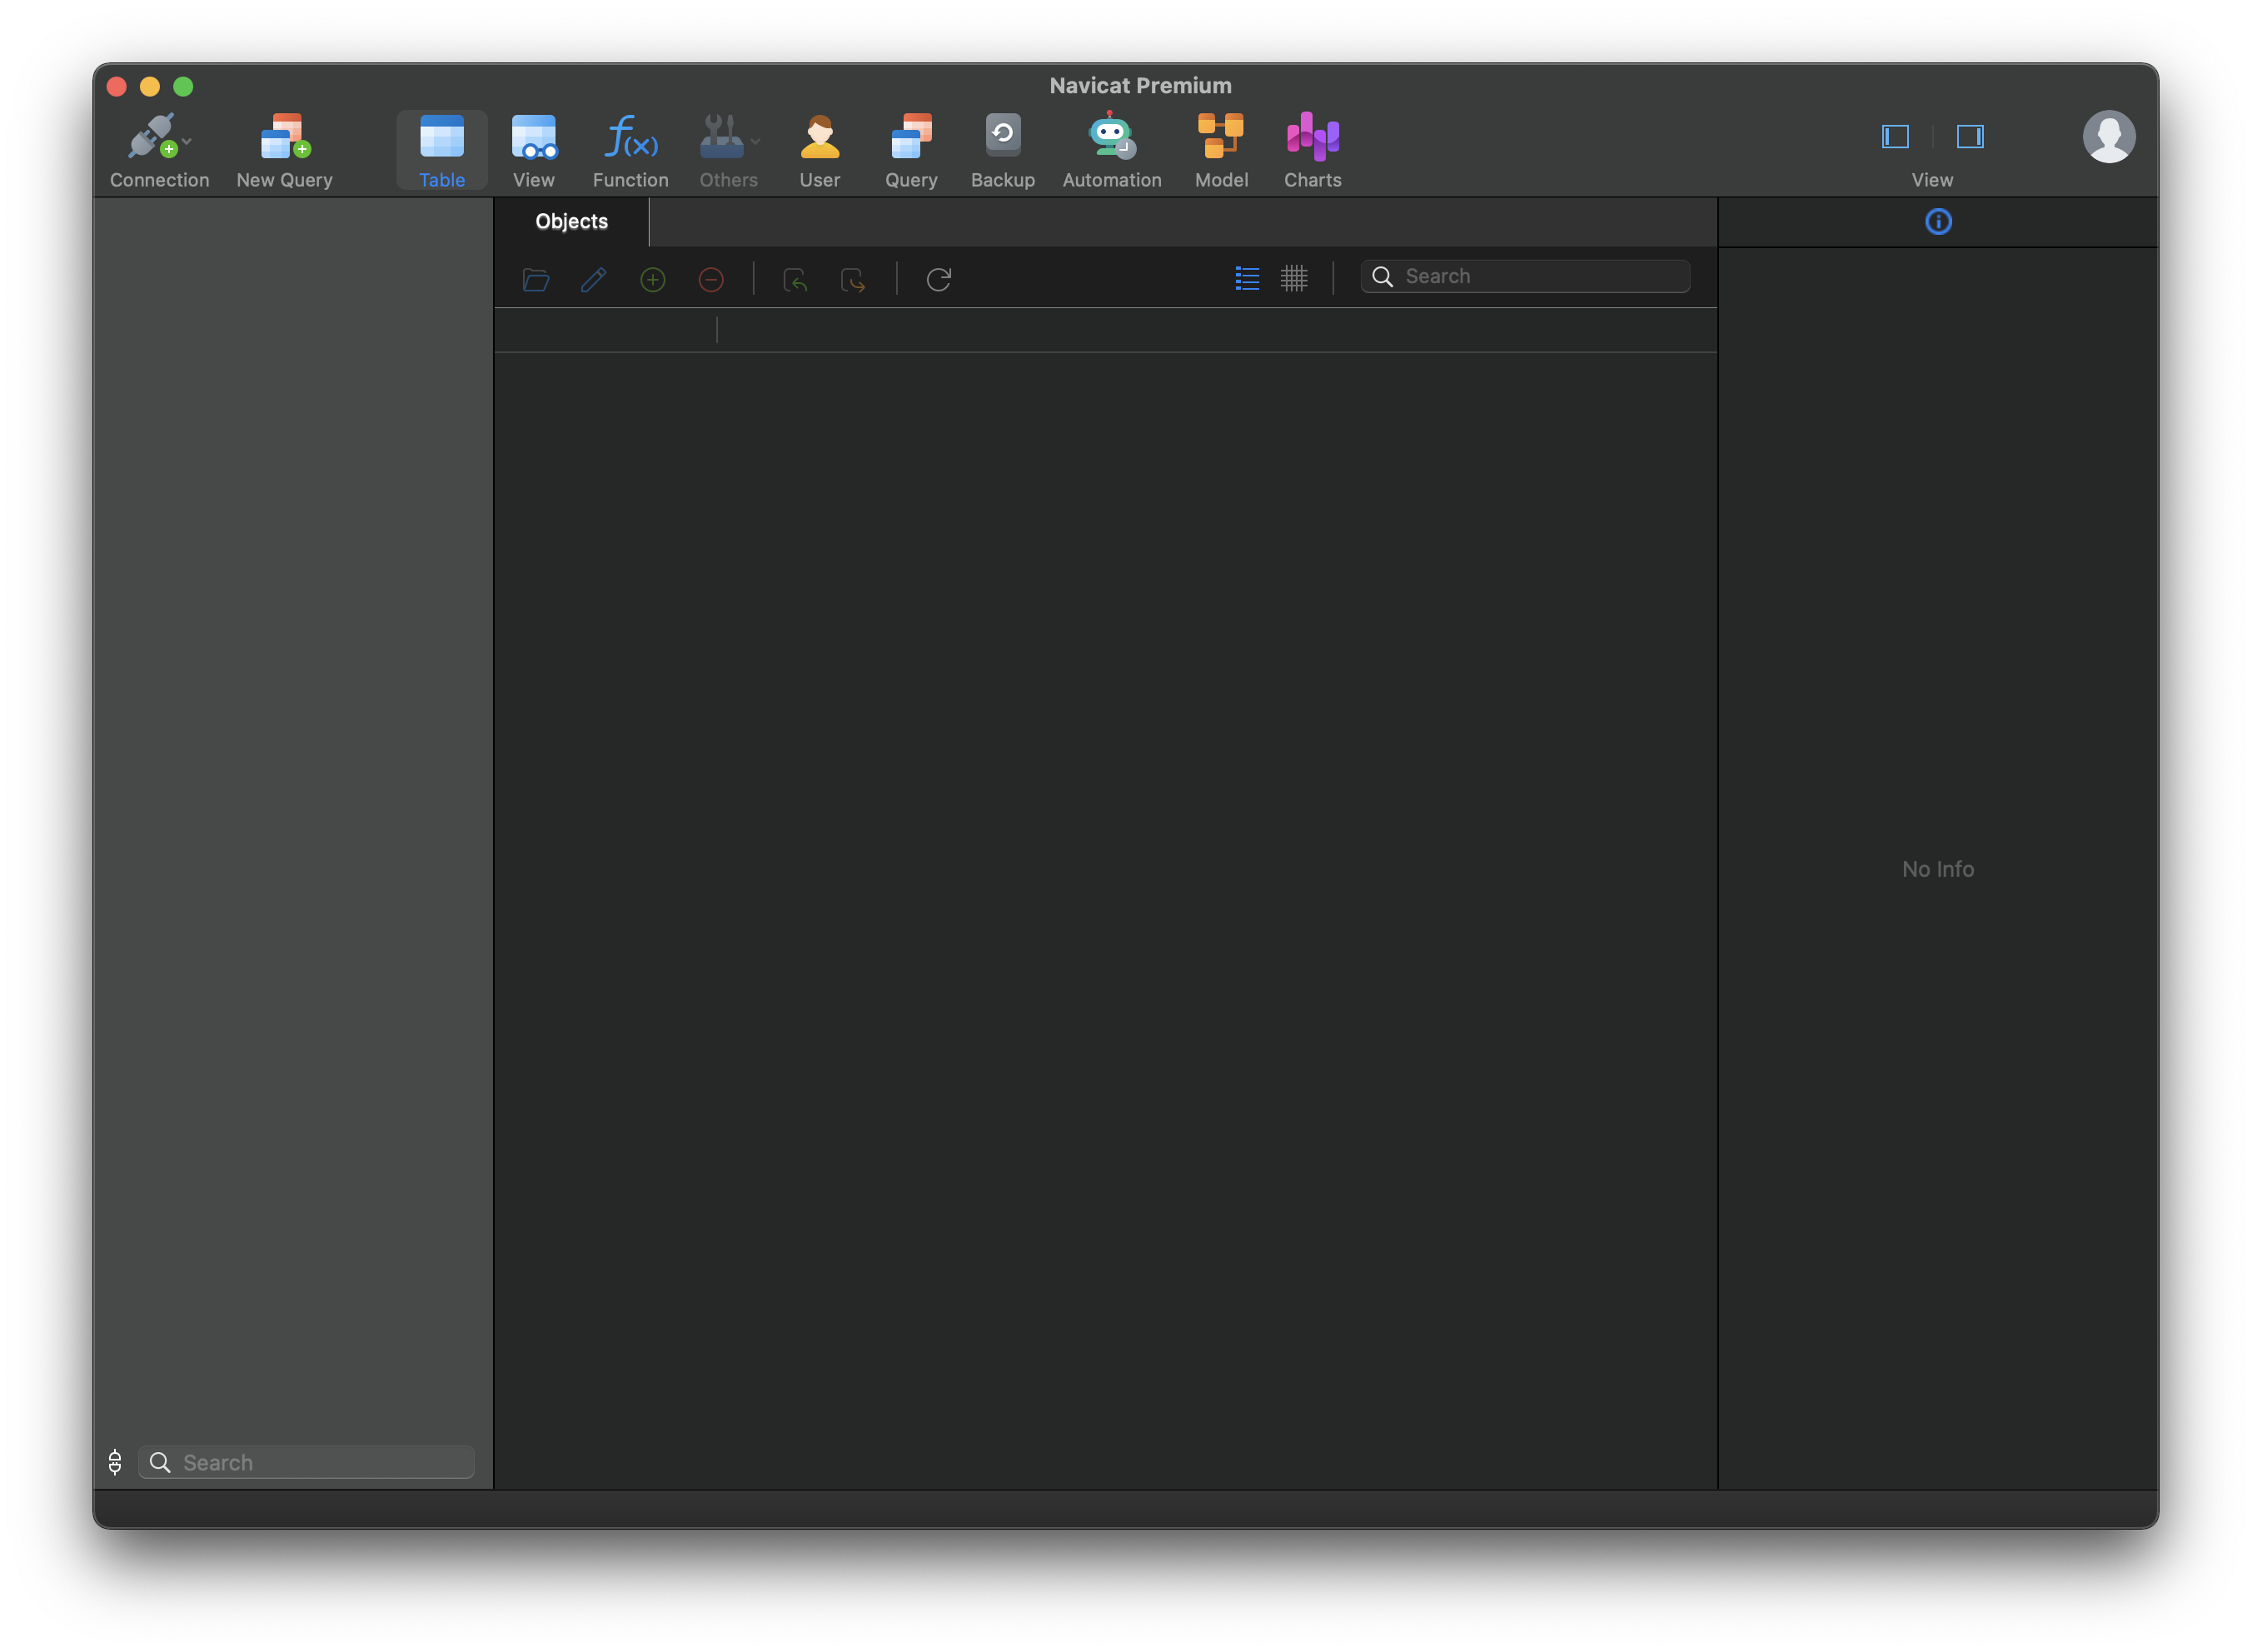
点击左上角
Connection → MySQL在
Connection Name中随便写个名字,下面的password中输入安装MySQL时候设置的密码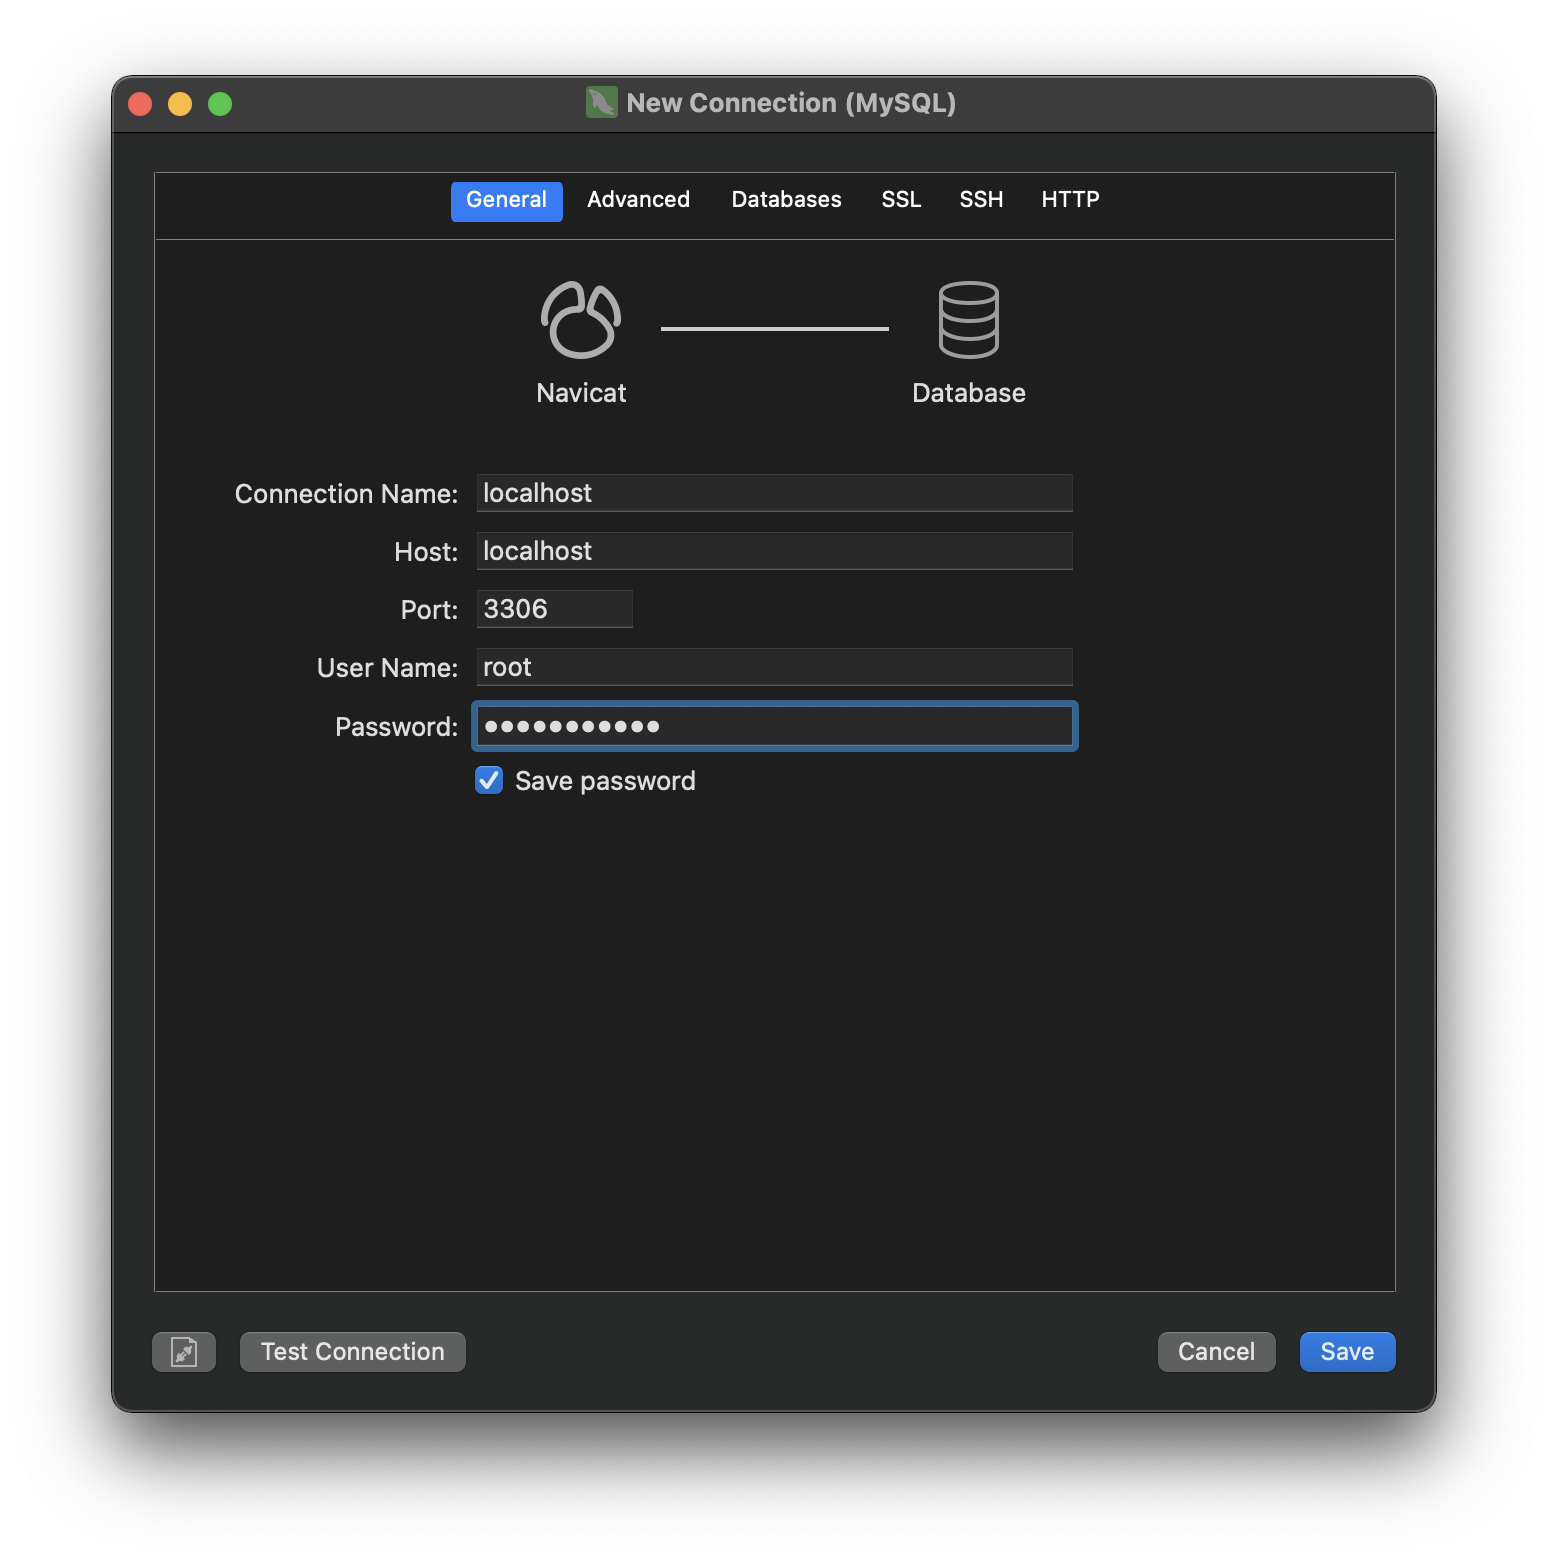
在新建的Connection中右键,
Open Connection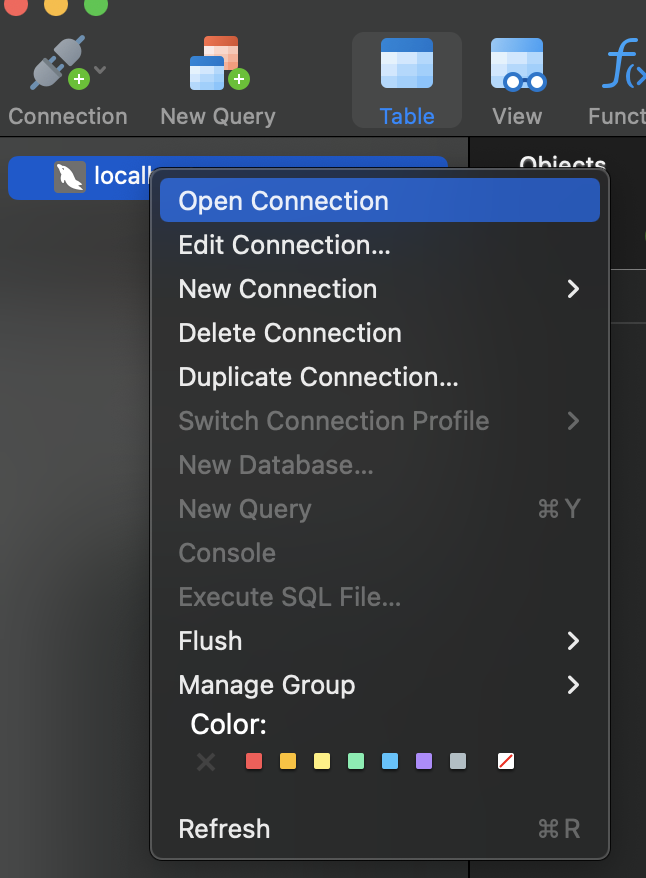
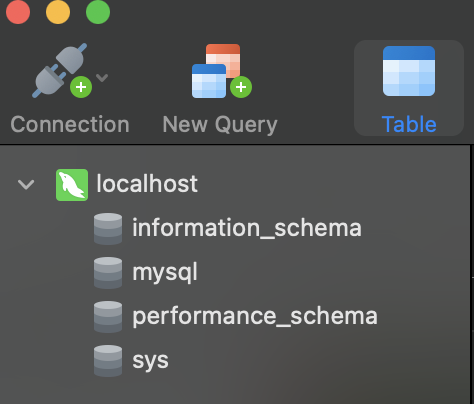
能打开既成功
- 作者:Jimmy Huang
- 链接:https://huangjihao.com/55a71222-1257-4bf6-a9d8-90b86a752ab1
- 声明:本文采用 CC BY-NC-SA 4.0 许可协议,转载请注明出处。