type
status
category
date
slug
summary
tags
icon
Last edited time
May 21, 2023 07:57 AM
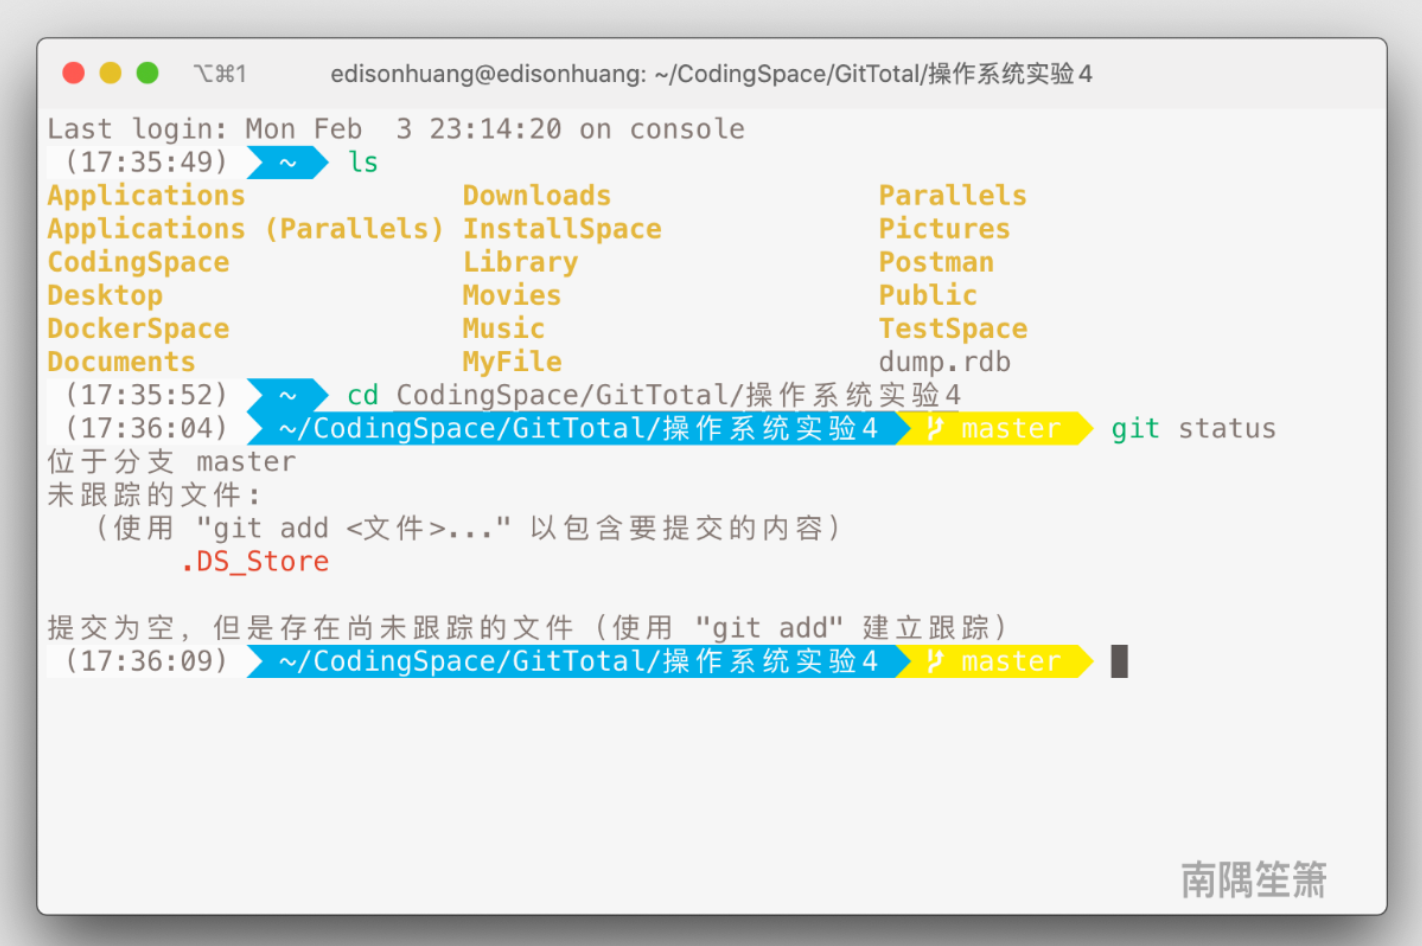
起因
每天看着mac这“shi”一样的终端,没有高亮,眼睛要废掉了,之前看过美化之后的终端,看了网上很多教程,也美化一下
一、安装 iTerm2
在 https://www.iterm2.com/ 中下载,然后正常想安装应用程序一样安装就可以了
Mac默认使用dash作为终端,可以改成Zsh
终端键入
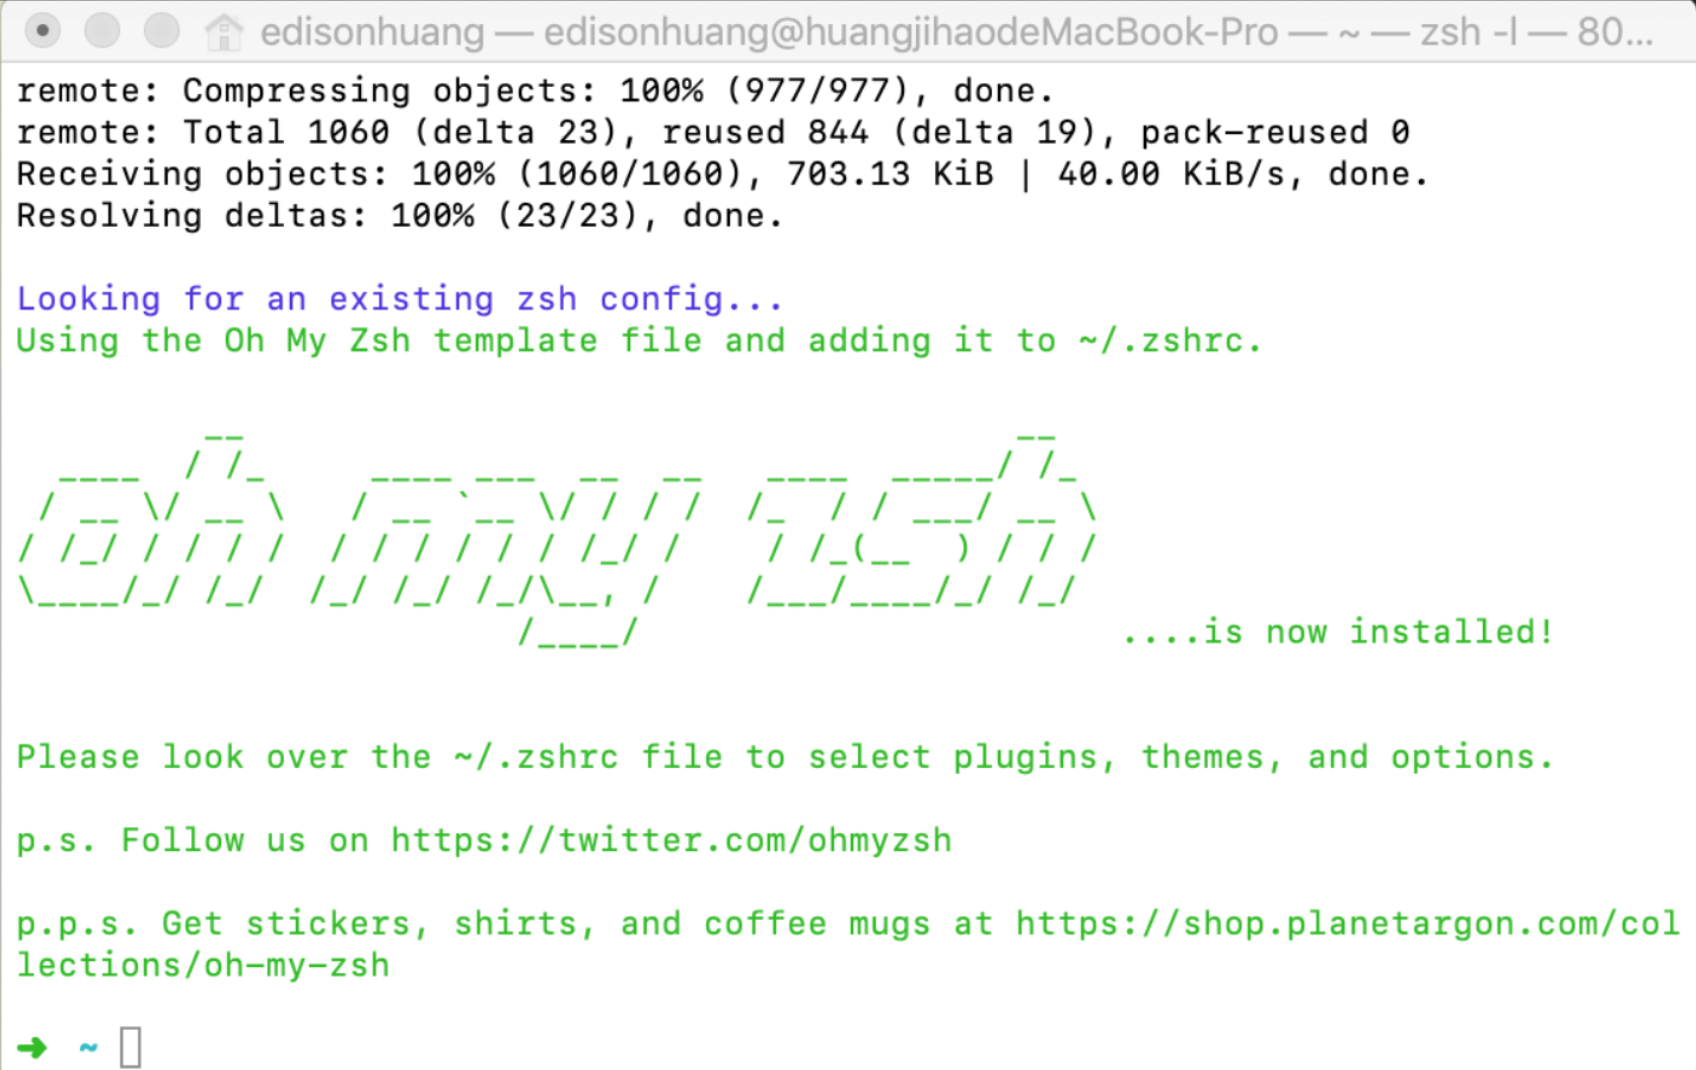
二、安装 Oh my zsh
终端键入
如果没安装wget
终端键入 brew install wget
如果没安装brew
终端键入
完成显示 oh my zsh 则安装成功
三、安装字体库
随便找个文件夹,在终端中进入这个文件夹然后执行
安装完成后进入iTerm2设置字体
四、命令高亮
高亮终端命令
五、配置主题
1.下载主题
2.解压到一个地方
3.导入主题
就可以选择主题了
六、调整透明度
iTerm 中 Perferences->Profiles->Window->拖动Transparency进行调整
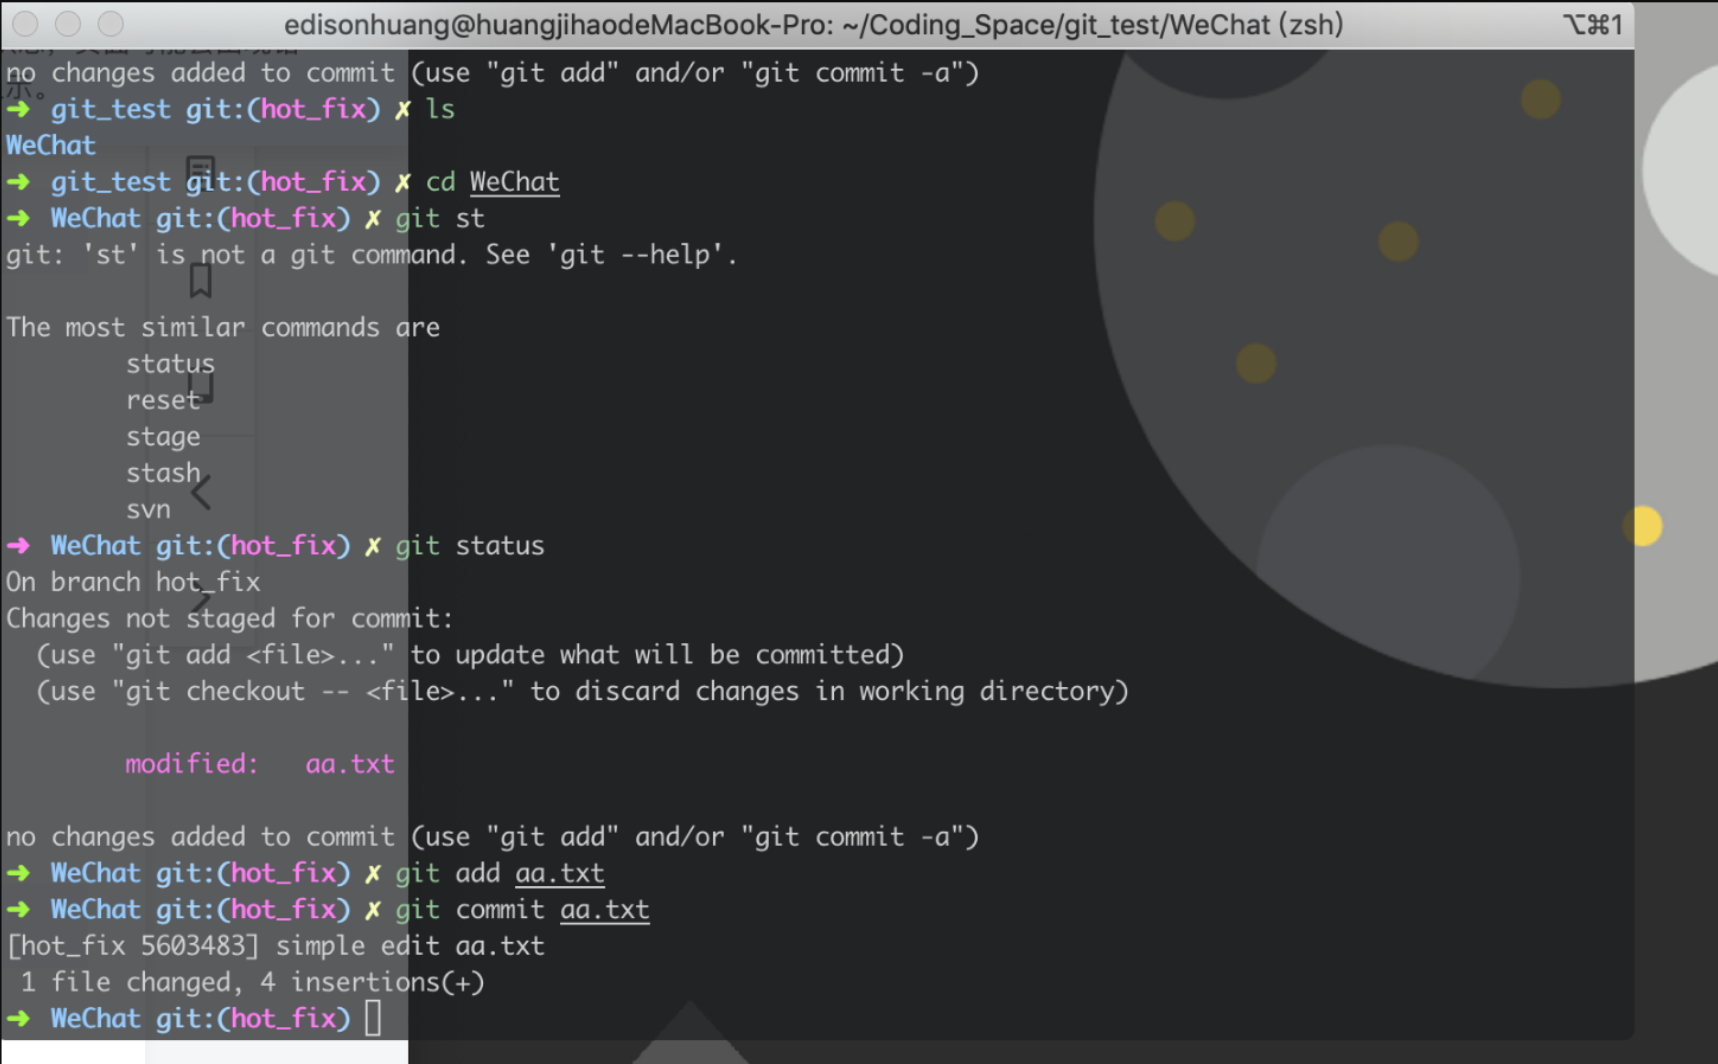
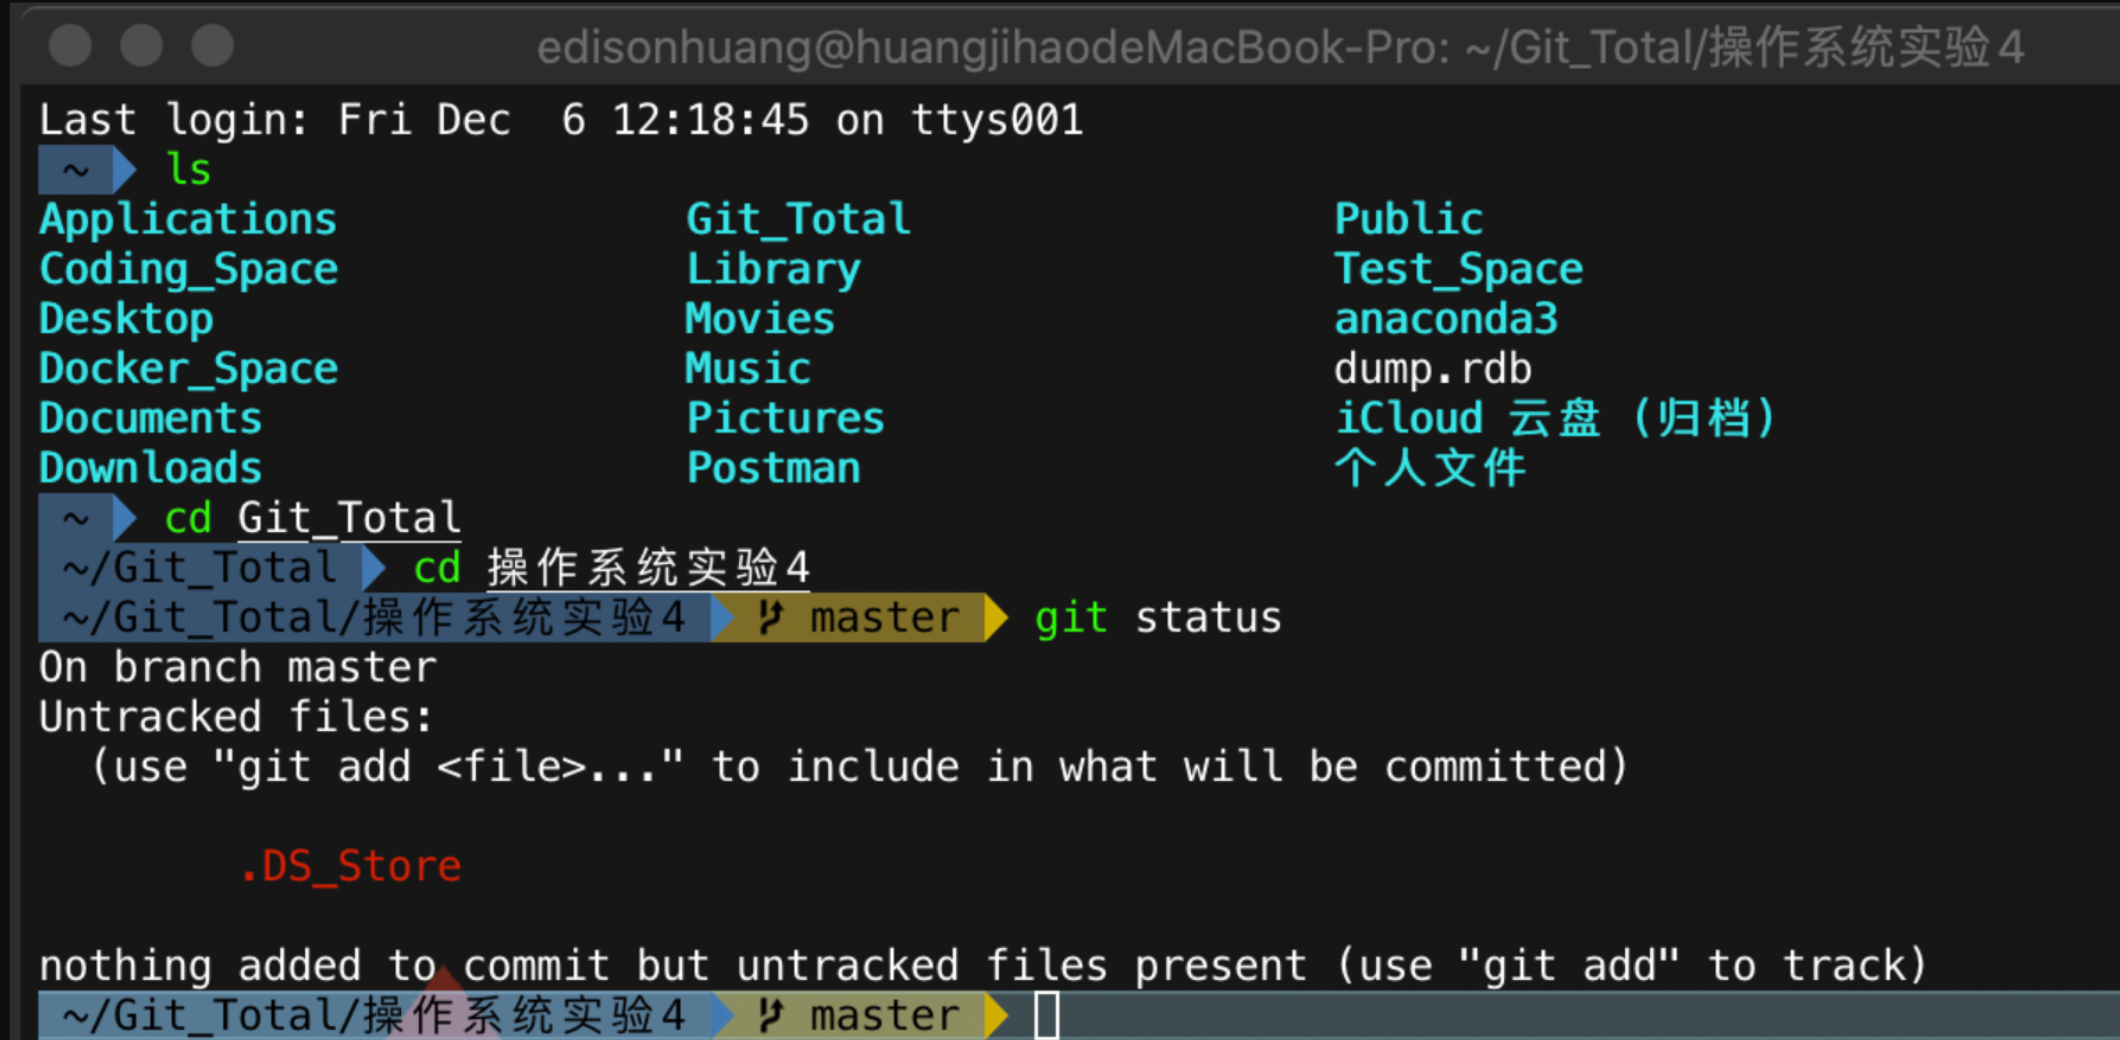
效果
七、agnoster主题安装
使用过众多主题之后,我还是投入了agnoster的怀抱
安装步骤
(一)第三步的字体要装好
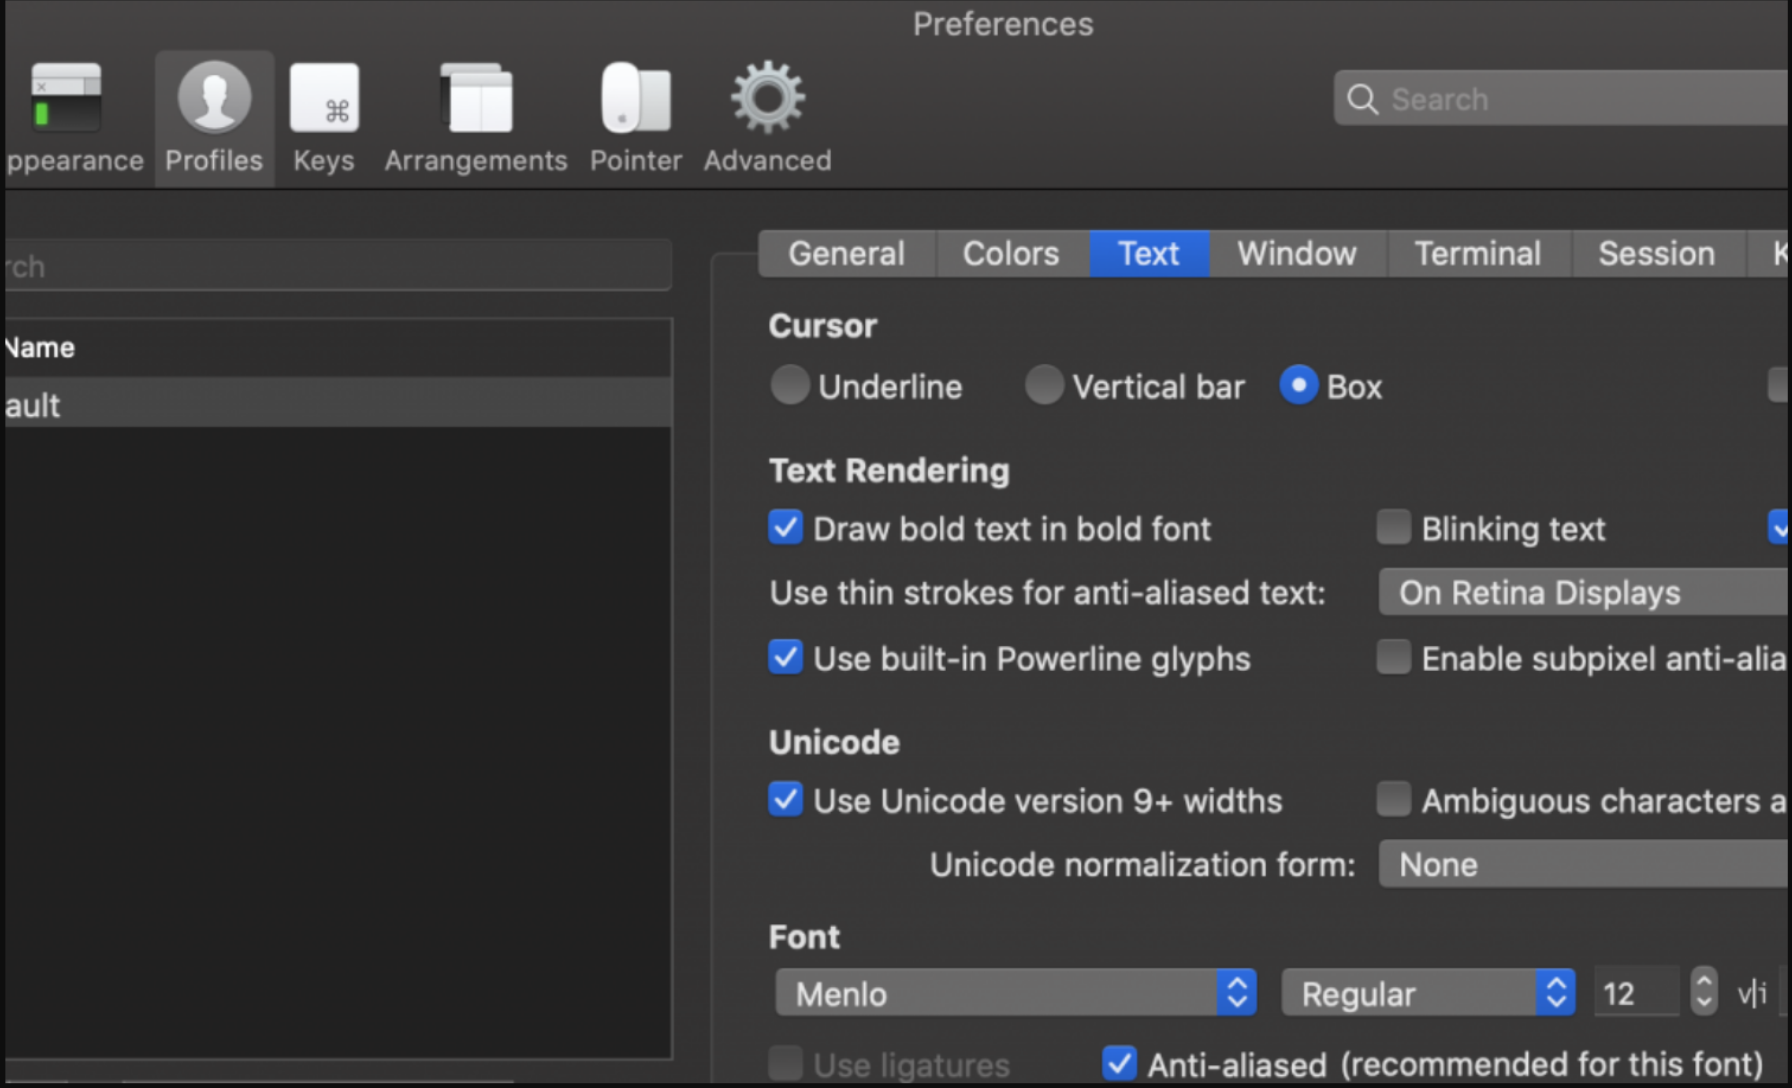
(二)选择字体
Preferences->Profiles->Text->Front 选择Menlo并且上方的User build-in Powerline glphs要打勾
(三)修改主题为agnoster
重启后即可
2020/2/4更新