
type
status
category
date
slug
summary
tags
icon
Last edited time
May 21, 2023 07:57 AM
一、搭建项目1、选择路径创建项目2、选择预配置项3、是否使用路由的history模式4、选择一个预处理语言5、选择ESLint自动化代码格式化检测6、选择代码检测时机,选择保存时检测7、将配置文件放到pakage.json中还是单独文件中8、是否保存选择的配置二、使用echarts实现疫情地图1、安装echarts2、封装自定义组件与配置路由3、在echarts1.vue中进行使用echarts4、显示效果三、第二种地图显示方法1、安装jsonp2、封装自定义组件与配置路由3、在echarts2.vue中进行使用echarts4、显示效果
- 掌握使用Vue-CLI脚手架工具在自己的电脑上建立项目,并运行调试工具。
- 学习使用ECharts图表开源库开发地图展示功能,了解图表开发方法。基本用法参考ECharts官网:https://www.echartsjs.com/zh/feature.html
效果可参照丁香园疫情地图:https://ncov.dxy.cn/ncovh5/view/pneumonia
一、搭建项目
注:如果使用的是
vue-cli的老版本(4.20以下的)建议使用以下命令升级vue-cli版本1、选择路径创建项目
进入需要创建项目的文件夹
vue create vue-music随后出现一些配置选项,选择
Manually select features进行配置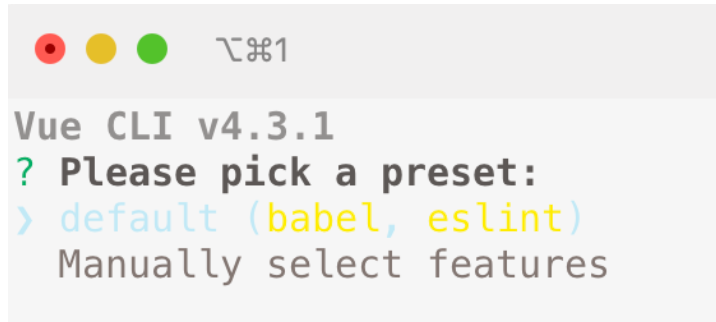
2、选择预配置项
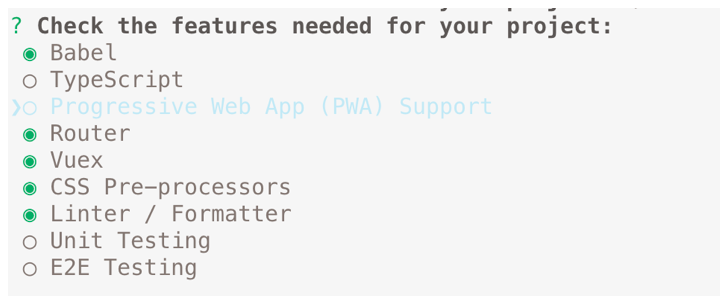
选择
Router、Vuex、CSS Pre-processors、Linter / Formatter3、是否使用路由的history模式
可以选也可以不选,之后可以改的,我选择不选

4、选择一个预处理语言
选
with node-sass就行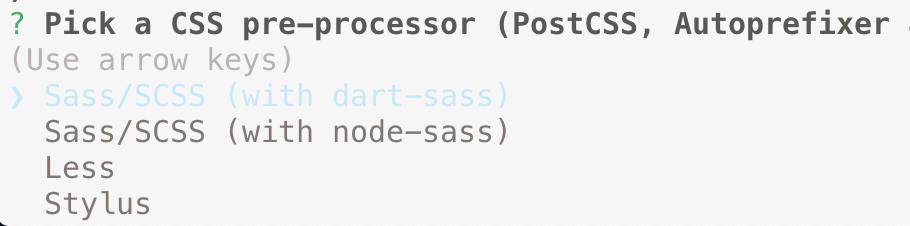
5、选择ESLint自动化代码格式化检测
从上到下分别是:
只预防、airbnb配置、标注配置、最高配置作为学习选择只预防就可以了
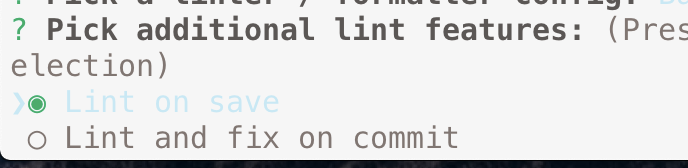
6、选择代码检测时机,选择保存时检测
7、将配置文件放到pakage.json中还是单独文件中
选择
pakage.json即可
8、是否保存选择的配置
这里不保存选
n
安装成功后显示如下
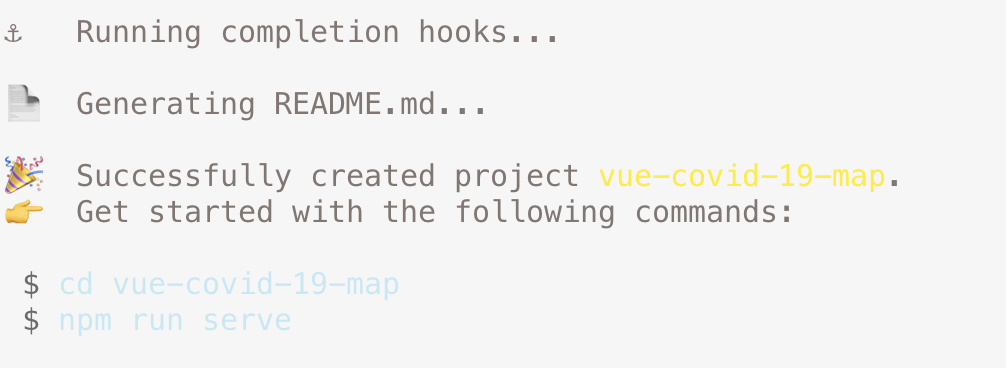
随后进入项目文件夹
运行项目就可以了
npm run serve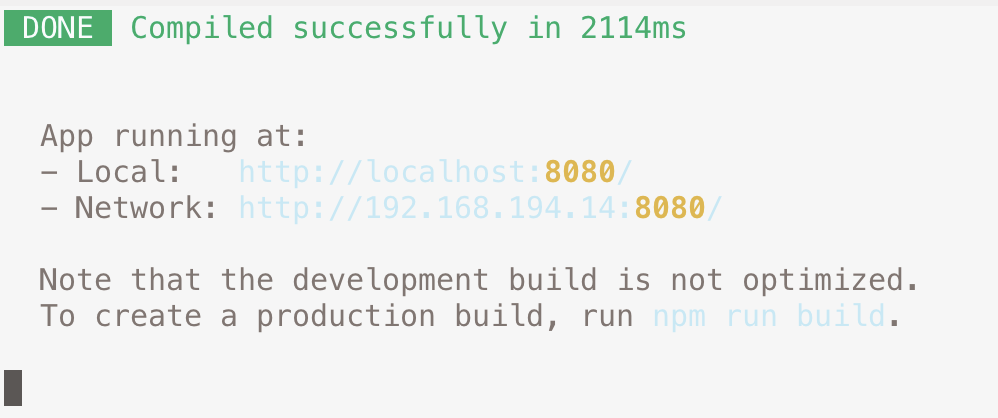
二、使用echarts实现疫情地图
1、安装echarts
终端键入
npm install echarts --save如果失败,并看到
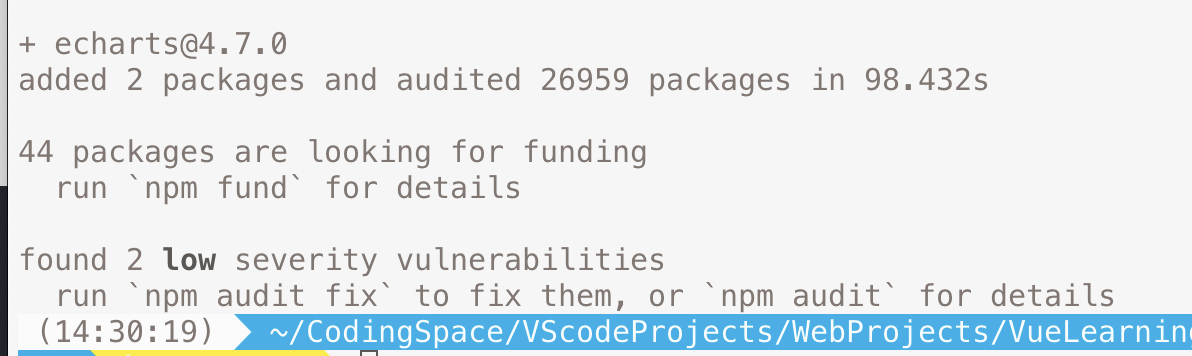
则键入
npm audit fix来修复成功后可以在
package.json内看到echarts对应的版本号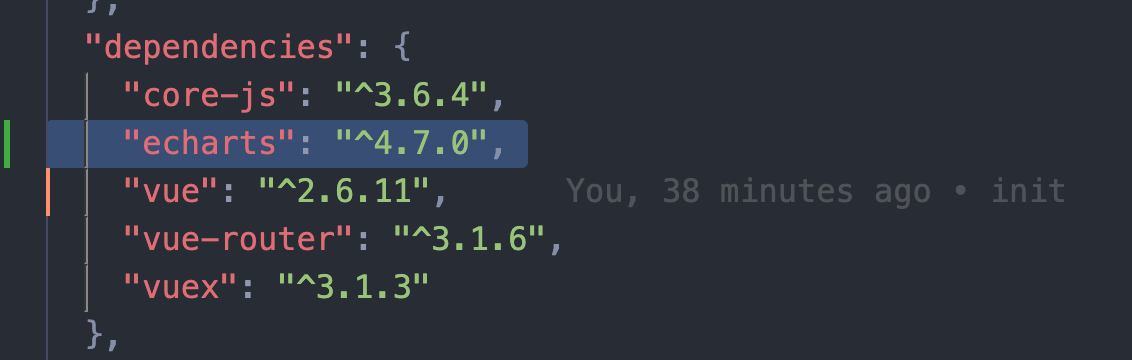
2、封装自定义组件与配置路由
- 在
router文件下的index.js里配置自定义组件charts1.vue对应的路由
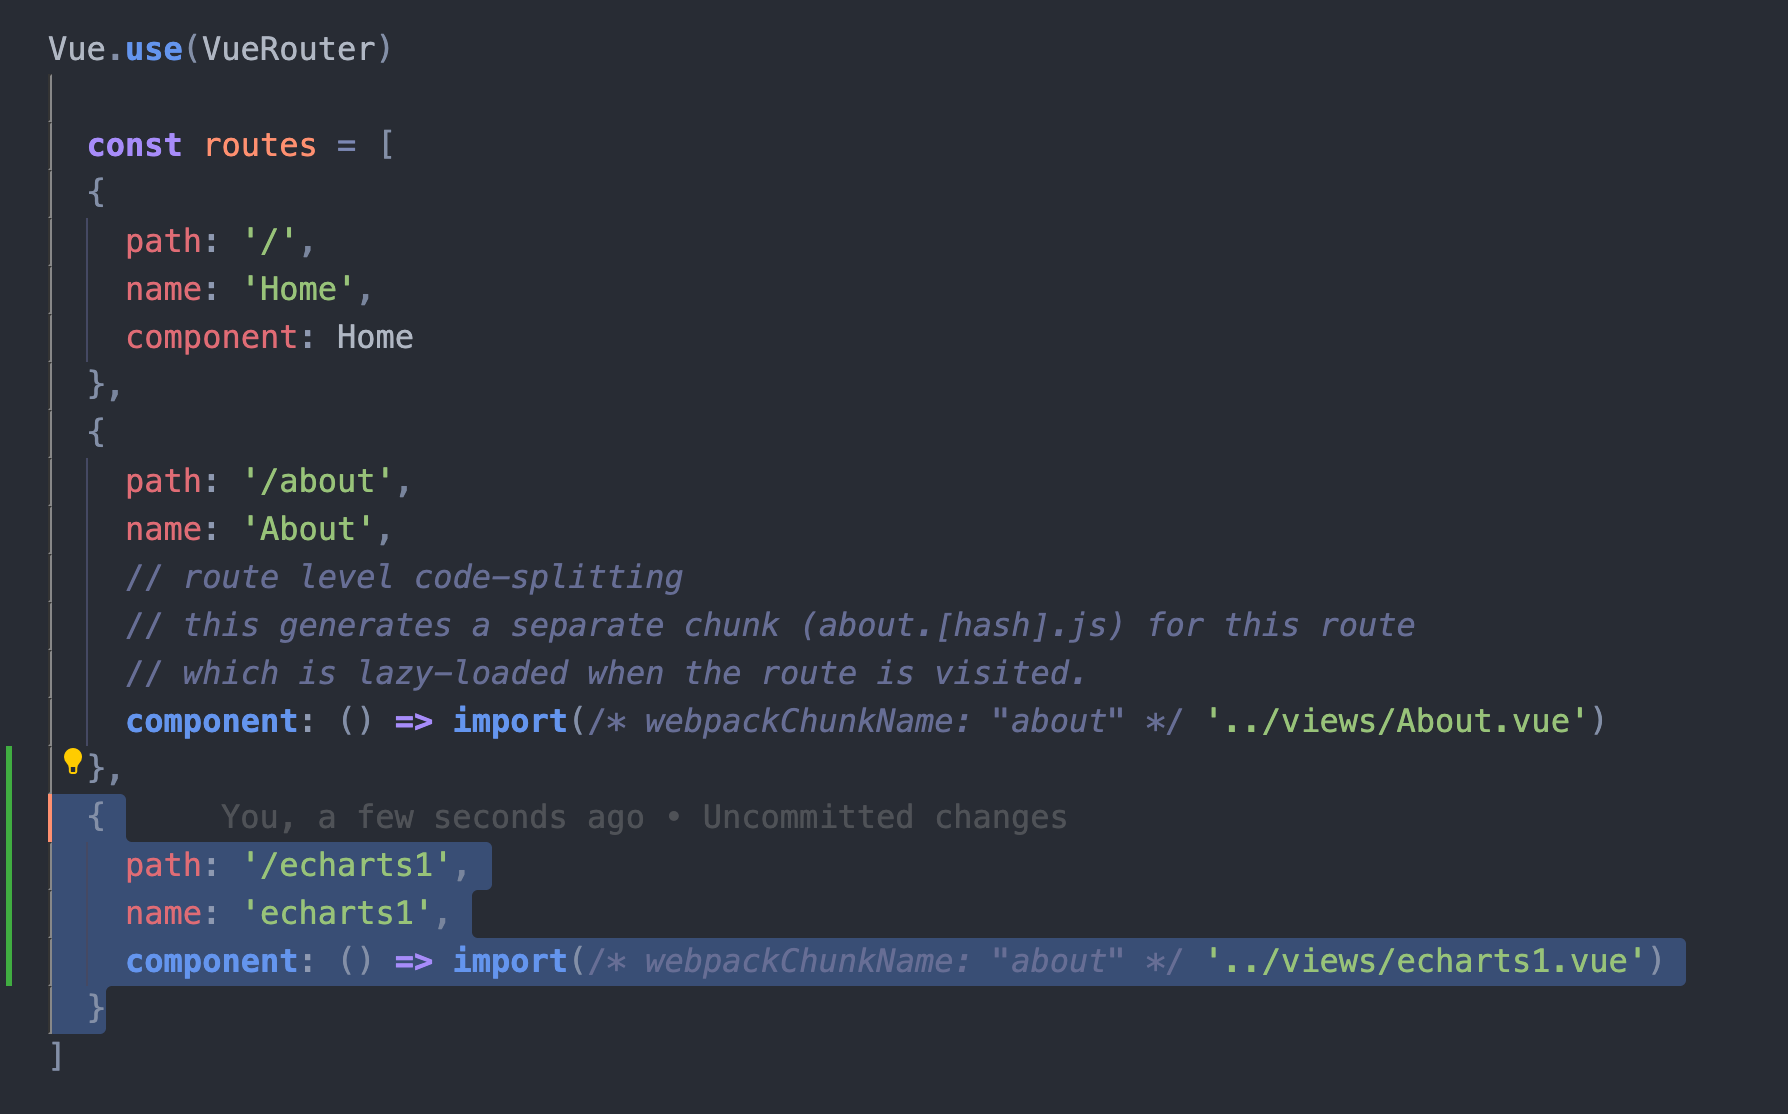
2. 在
App.vue中配置路由跳转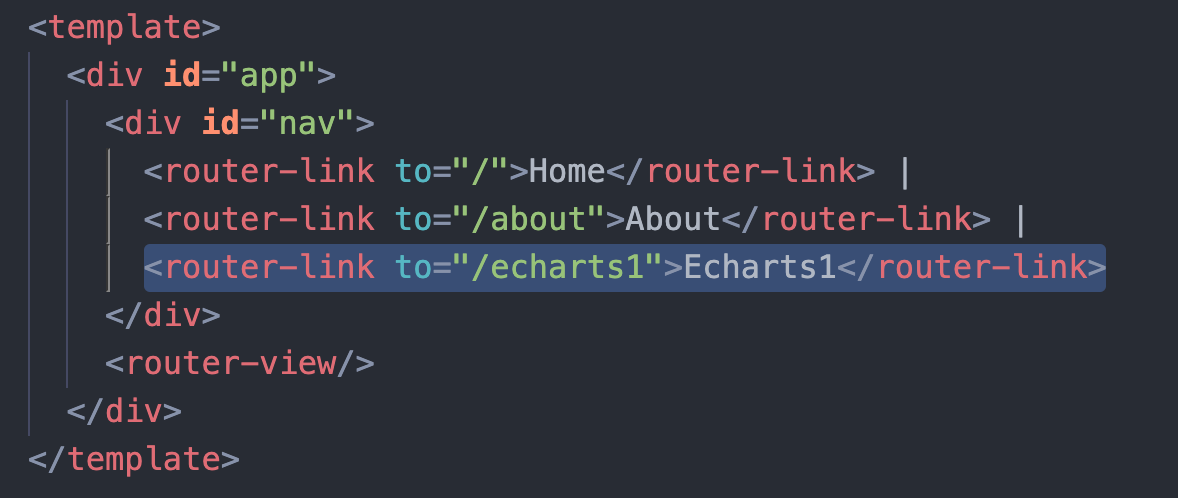
3. 在
view文件夹下新建一个自定义组件echarts1.vue3、在echarts1.vue中进行使用echarts
- 引入echarts
2. 准备一个DOM容器
3. 使用钩子函数,挂载完成之后执行
init4. 编写
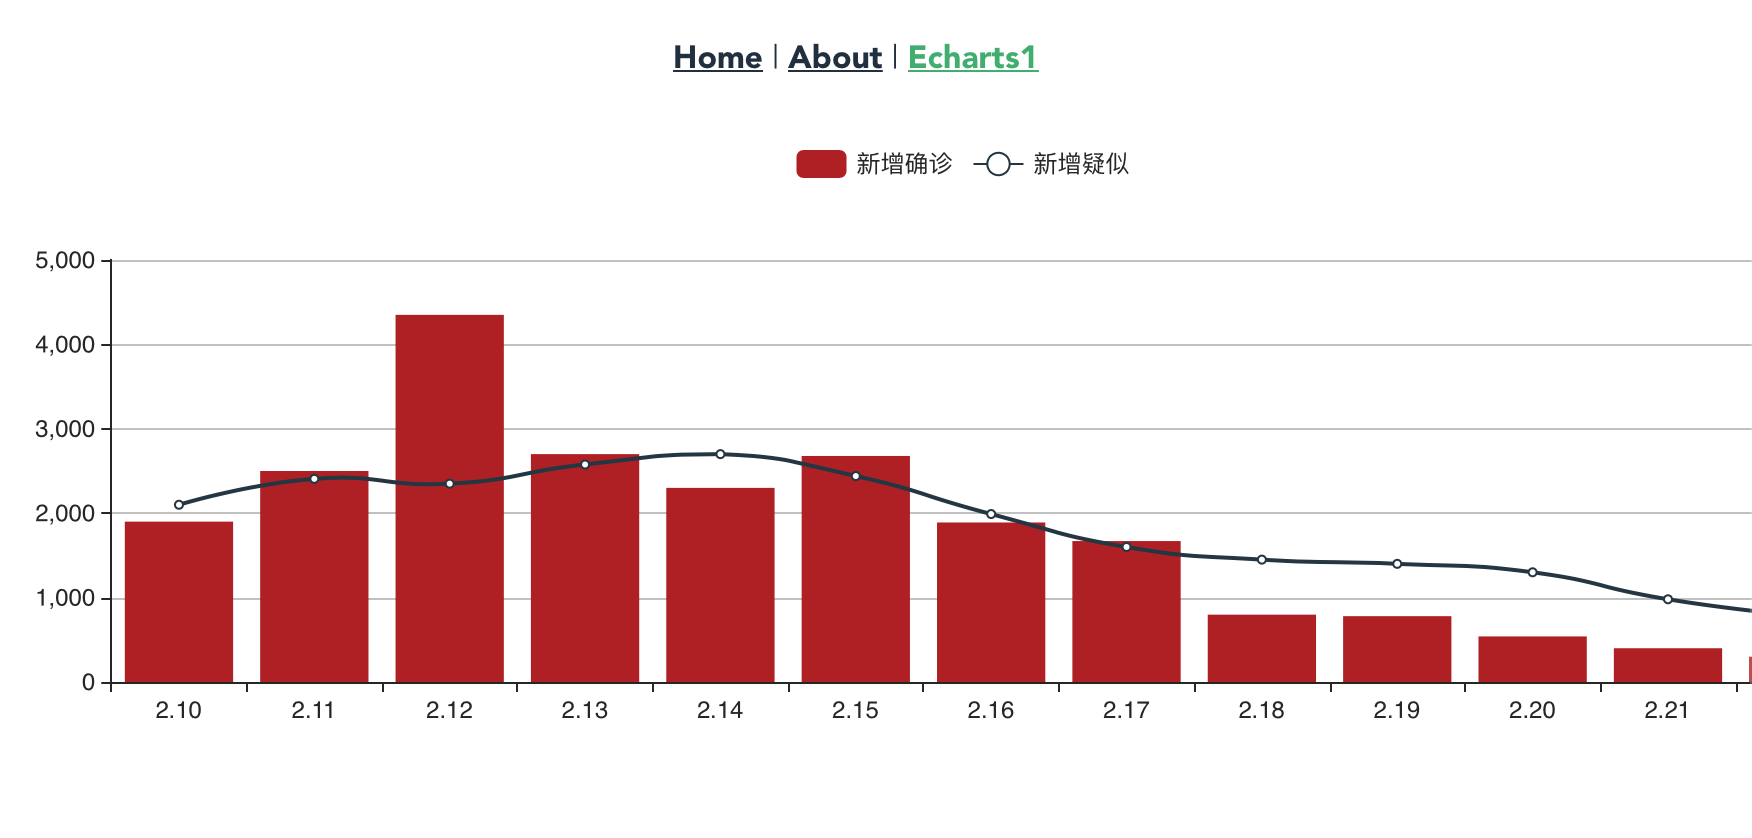
init方法4、显示效果
三、第二种地图显示方法
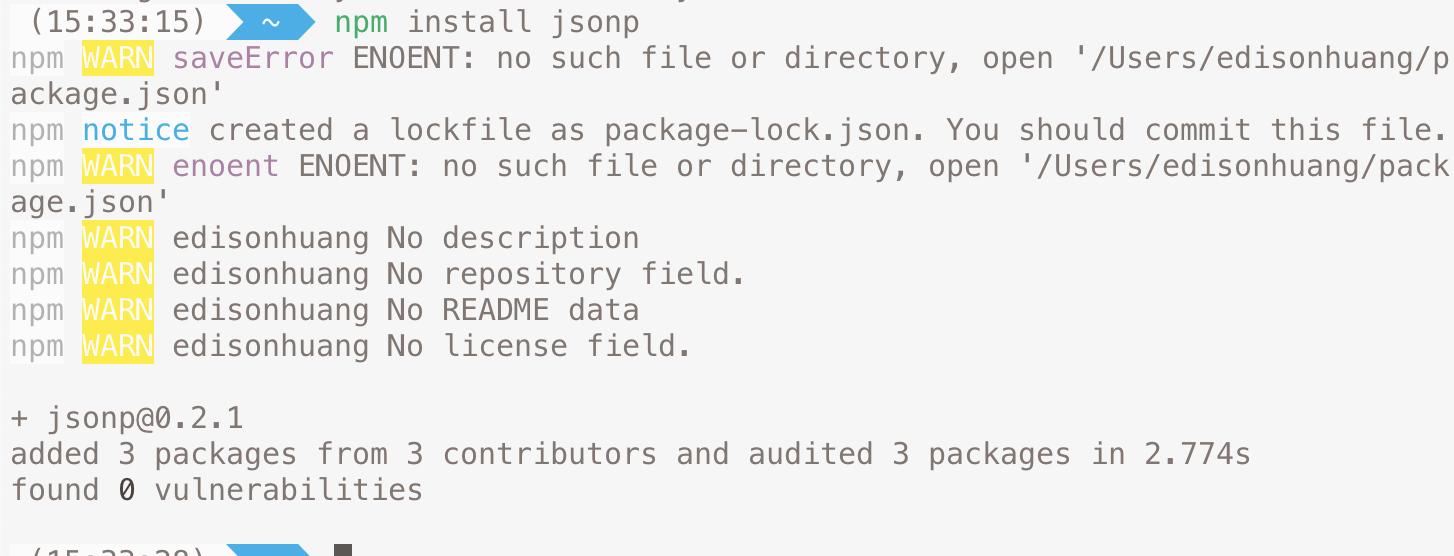
1、安装jsonp
2、封装自定义组件与配置路由
和上一种方法类似,不赘述
3、在echarts2.vue中进行使用echarts
在
option中设置参数:设置标题及样式
设置tooltip 数据项图形触发
设置数据
视觉地图
工具栏
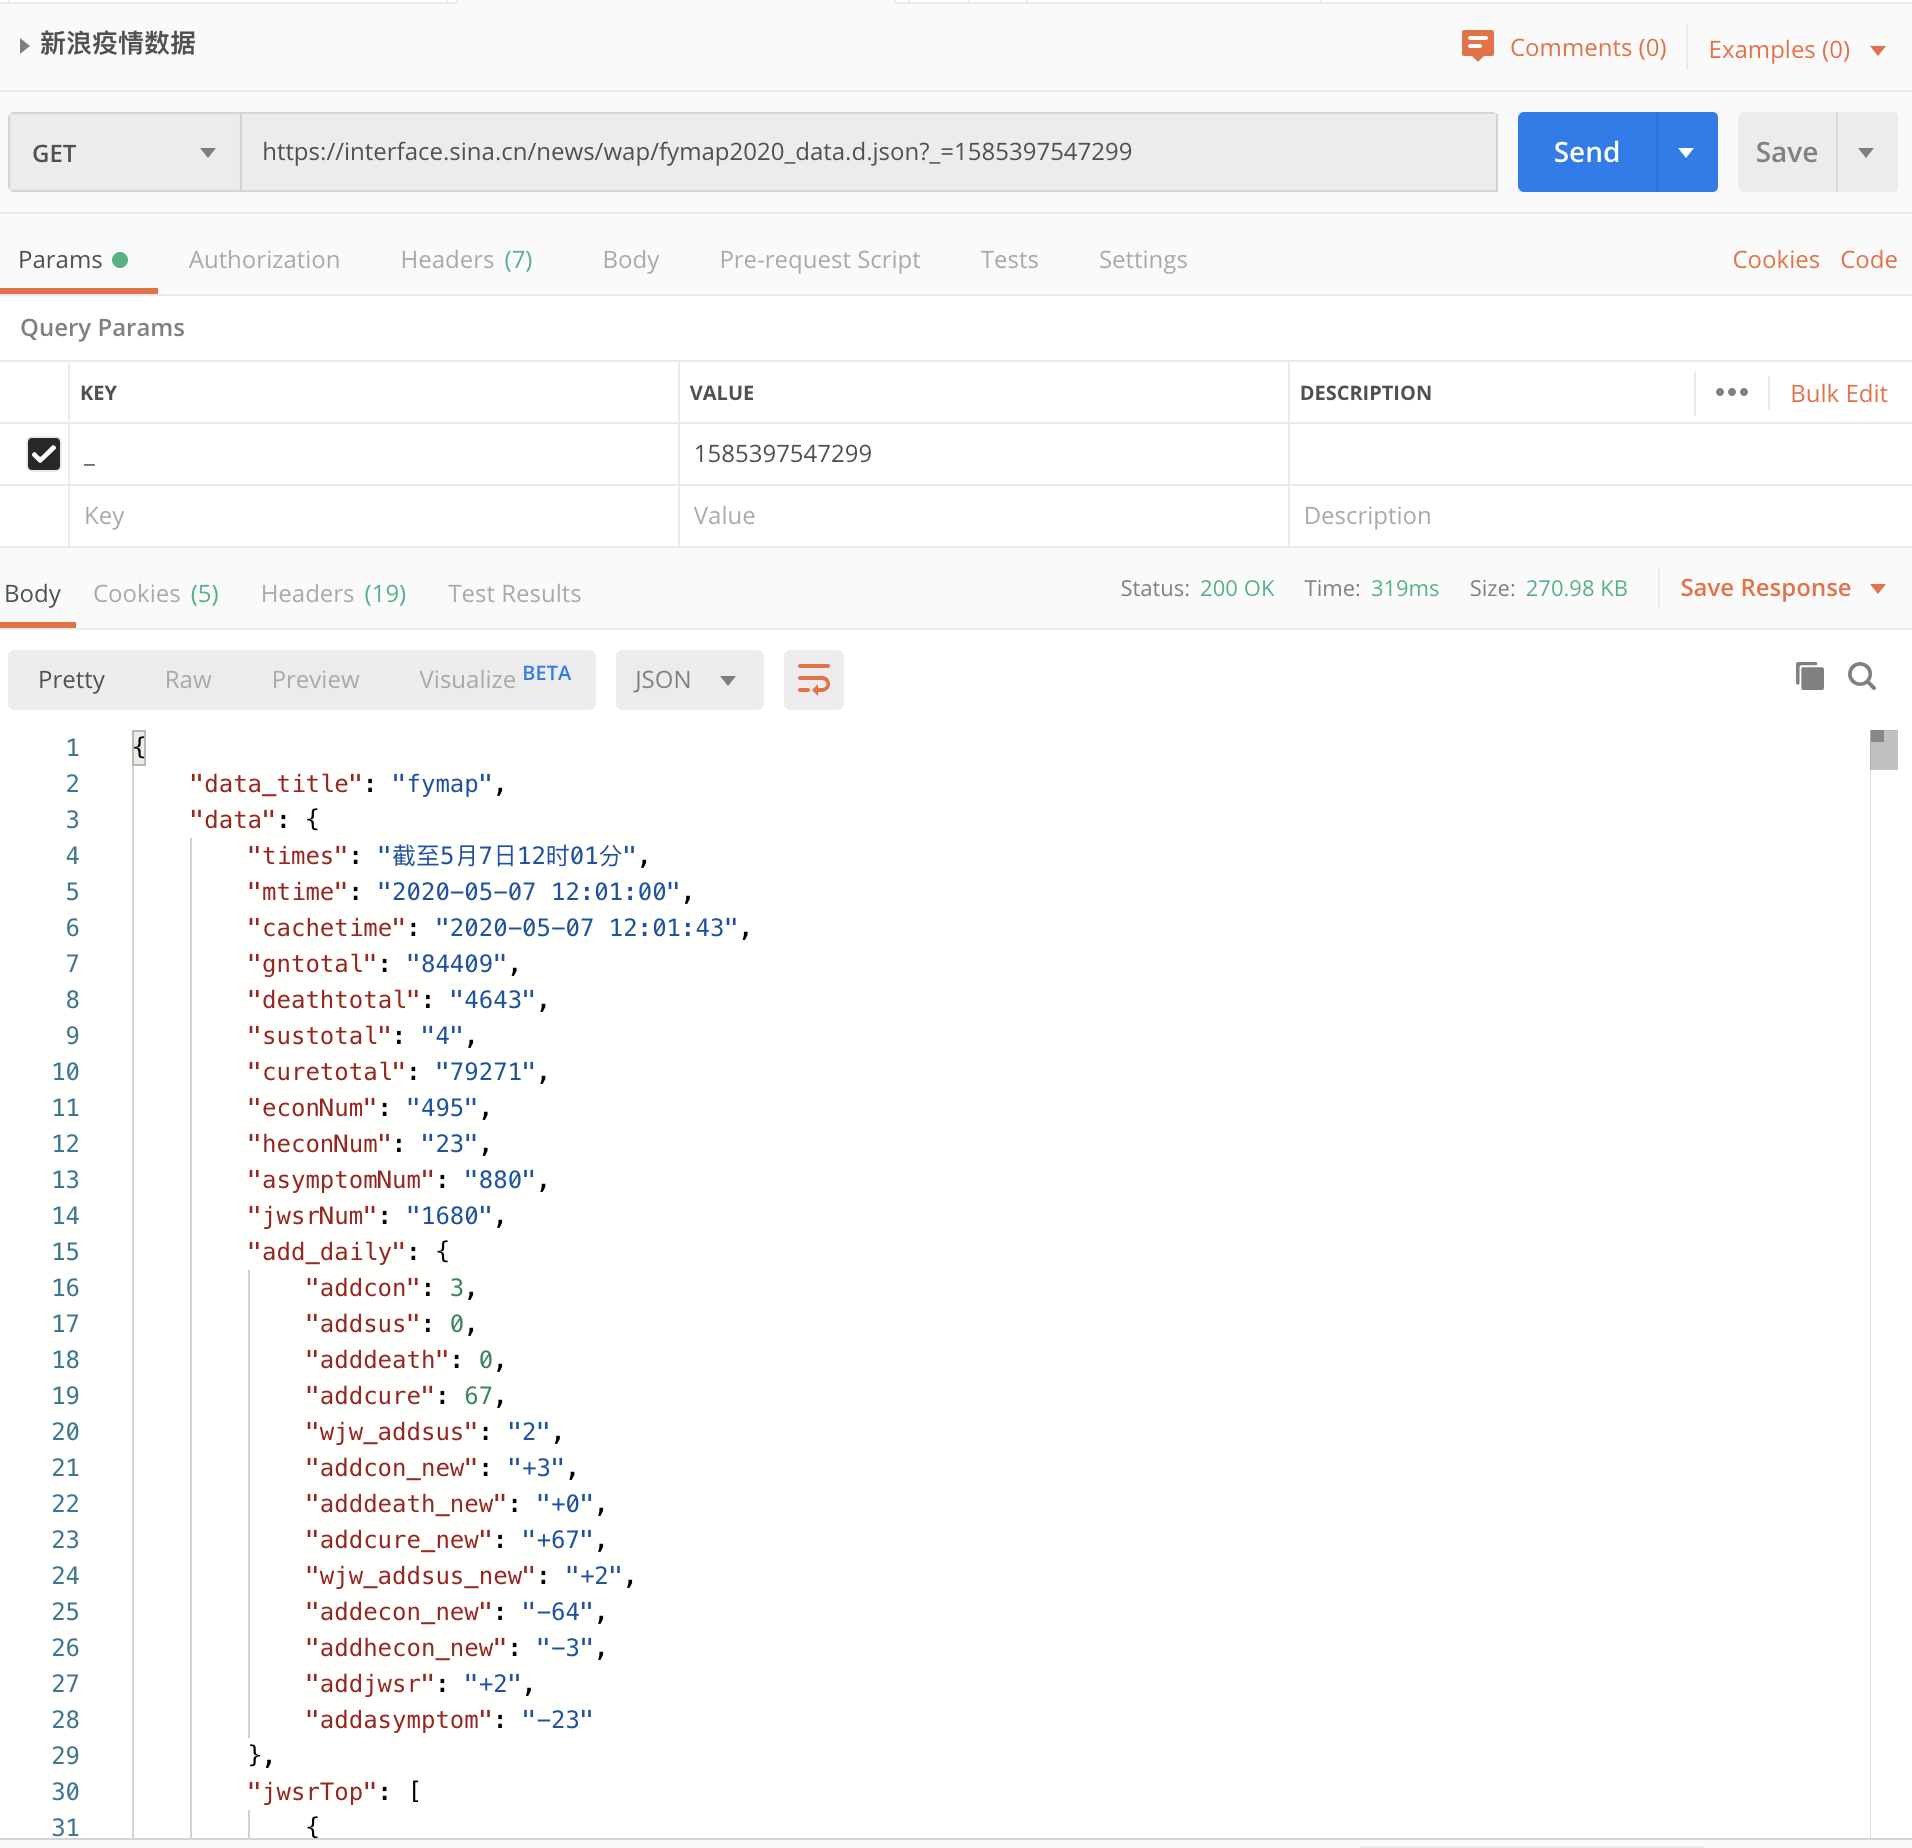
从网络接口获取数据
使用新浪等疫情数据接口
4、显示效果
- 作者:Jimmy Huang
- 链接:https://huangjihao.com/25ebc2ad-d8d8-4bcc-8d3b-0a27810fd59a
- 声明:本文采用 CC BY-NC-SA 4.0 许可协议,转载请注明出处。